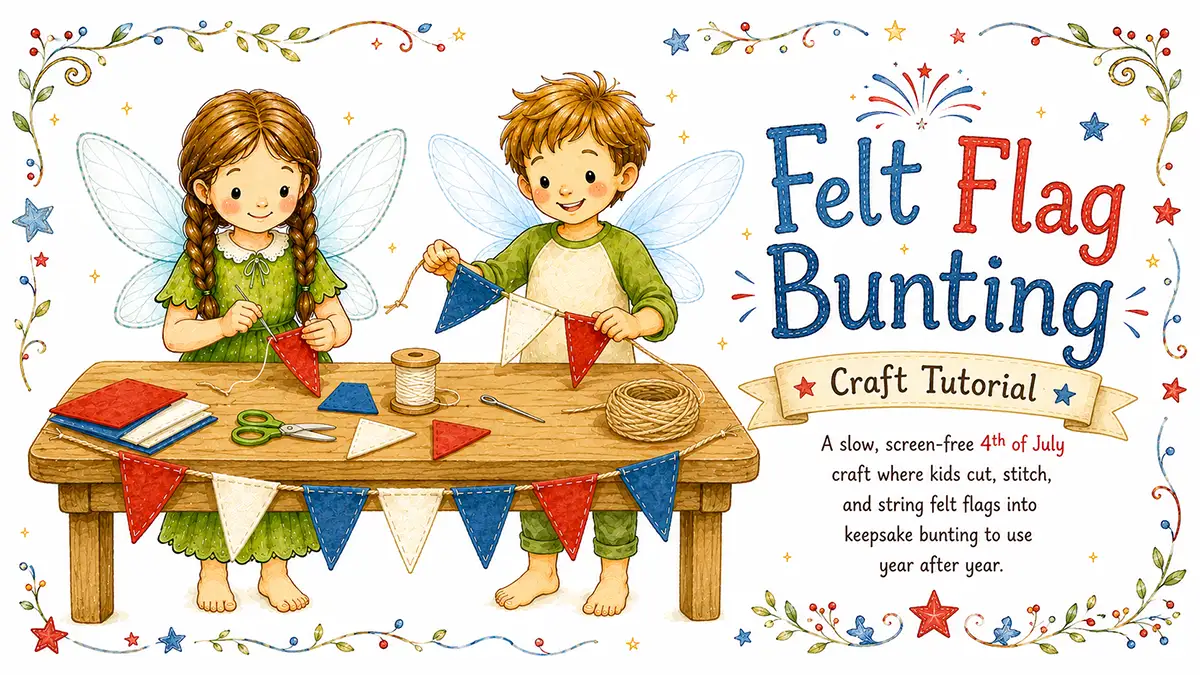
There is something quietly satisfying about a row of little handmade flags strung across a mantel. This felt flag bunting is a calm, screen-free 4th of July craft that lets kids practice a simple running stitch and end up with something the whole family wants to hang every summer.
It is a slow craft in the best way. Kids cut, stitch, and string at their own pace, and because it is felt instead of paper, the finished bunting tucks into a drawer and comes back out year after year.
Quick Details
- Ages: 7+ (younger with help)
- Active time: 45 minutes
- Mess level: Low
- Materials: Felt, embroidery floss, twine
- Best for: Keepsakes, quiet afternoons, hand-sewing practice
Why Kids Love It
- A real decoration: They make something that actually gets hung up where everyone sees it.
- Their colors, their stars: Kids pick the flag colors and add their own little details.
- A calm rhythm: Cutting and stitching is steady and screen-free, and honestly kind of soothing.
- A skill that sticks: A first running stitch they can carry into the next project.
What You’ll Make
Kids will make a string of small felt flags, each one decorated and stitched, then tied along a length of natural twine. The simplest version uses felt and a little fabric glue. The keepsake version adds a few hand stitches so it holds up for years of summers.
Supplies Needed
For this craft you will need:
- Felt sheets in red, white, and blue
- Embroidery floss
- Jute twine
- From the craft drawer: a blunt embroidery needle, scissors, a pencil, and a simple triangle template
Before You Start
- Keep shapes simple: A basic triangle or pennant is easiest for little hands.
- Pre-cut for younger crafters: Cut the felt flags ahead of time so kids can jump straight to stitching.
- Use a blunt needle: Safer for small fingers, and felt is soft enough that it still goes through easily.
- Measure your spot: Cut the twine a little longer than the space you want to fill.
Step-by-Step Instructions
- Cut the felt flags: Draw a simple triangle template, then use it to cut matching flags from your red, white, and blue felt. Five to eight flags makes a nice short string.
- Add the details: Cut small felt stars or thin stripes and glue or stitch them onto each flag. This is the part where kids make it their own.
- Thread the needle: Cut a length of embroidery floss, thread the blunt needle, and tie a knot at the end.
- Stitch the top: Sew a simple running stitch across the top edge of each flag, in and out, keeping the stitches roughly even. Big stitches are perfectly fine.
- String the flags: Lay the flags in order along the twine, then stitch or knot each one in place, leaving a little space between them.
- Hang it up: Tie a loop at each end of the twine and hang your bunting on a mantel, a shelf, or across a window. An adult can take over the needle for younger crafters.
Helpful Tips
- Use a template so every flag comes out the same size.
- Iron the felt flat first for crisp, clean edges.
- Mix solid flags with starred ones for a balanced, tidy look.
- Make a couple of extra flags in case someone wants a do-over.
Make It Easier and More Creative
Make it easier: Skip the needle entirely and use fabric glue to attach the flags to the twine. Pre-cut everything so kids can focus on decorating.
Make it more creative: Spell out a name or “USA” with one letter per flag, try a star garland instead of triangles, or make a tiny desk-size version for a bedroom shelf.
Safety Notes and Finished Craft
For ages 7 and up, an adult should help with the needle and scissors for younger crafters, and keep small felt stars and pins away from toddlers.
When it is done, kids have a soft, handmade string of flags that looks sweet hung up and folds away for next year. Uneven stitches are part of the charm, and that is exactly the point.
Get the free Fairy Marketplace Craft Book
14 beautiful one-page craft tutorials, from nature weaving to cardboard box towns. Plus our favorite new craft ideas and free printables a few times a season.
No spam, ever. Unsubscribe any time.
Check your inbox! Your craft book is on the way. (Give it a few minutes, and peek in the spam folder just in case.)