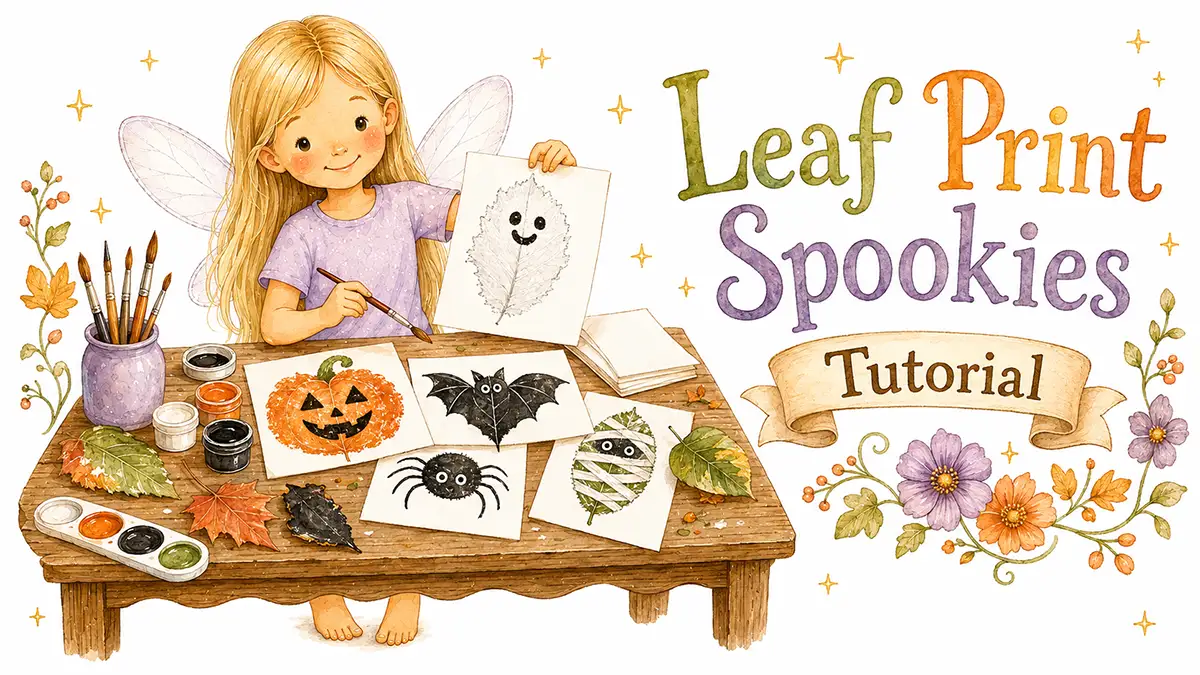
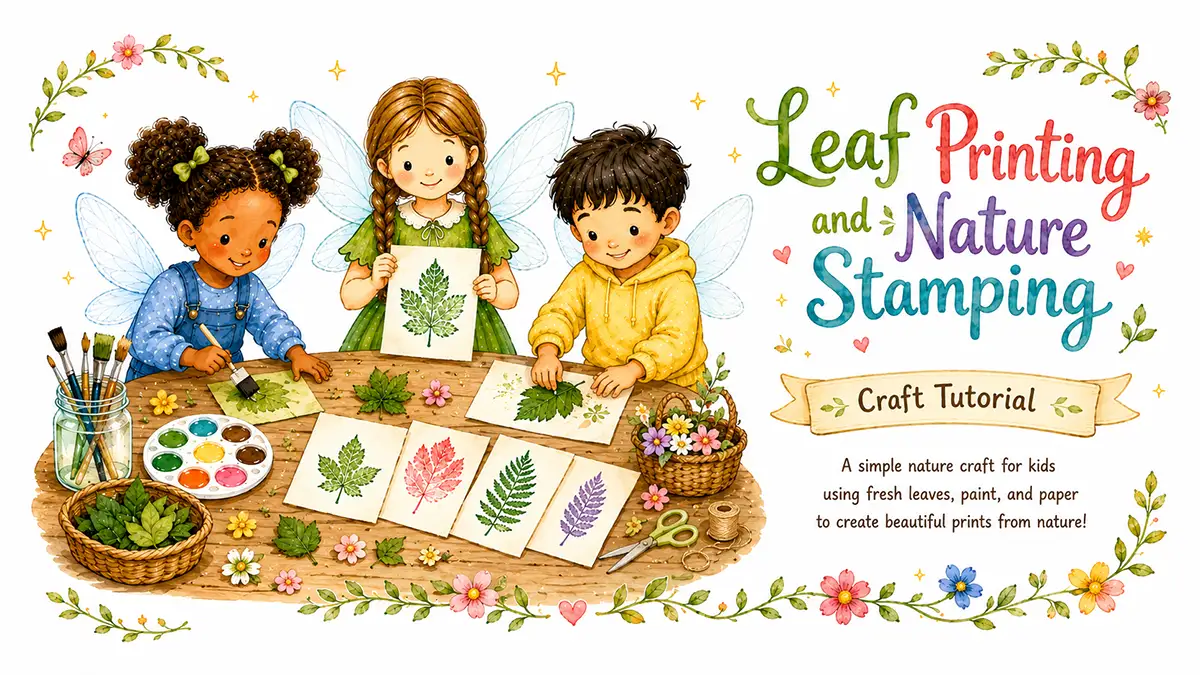
Leaf printing and nature stamping is a simple nature craft for kids ages 3+. Children use fresh leaves, paint, and thick paper to make leaf prints that show the veins, stems, and edges of real leaves.
This craft works well after a nature walk, during a quiet afternoon, or at a rainy-day craft table because it is easy to start and does not need many supplies. Kids can display the finished prints, turn them into cards, or use them as the beginning of a bigger nature art project.
Quick Details
- Ages: 3+
- Active Time: 20 minutes
- Extra Time: About 30 minutes drying time
- Mess Level: Low to medium
- Best For: Nature walks, quiet afternoons, rainy-day craft tables, summer craft time
- Main Skills: Collecting, painting, pressing, lifting, pattern-making
- Adult Help Needed: For safe leaf collecting, paint setup, and cleanup
Why Kids Like This Craft
Kids like leaf printing because the surprise happens right away. They paint the underside of a leaf, press it onto paper, and lift it up to see the shape appear.
The prints do not need to be neat. A smudged maple leaf, a pale fern, or a bright blue oak leaf can still look interesting. Children can make repeating patterns, collect prints from local leaves, or layer colors to create imaginary botanicals.
What Kids Will Make
Kids will make painted leaf prints on thick paper or cardstock.
The simplest version is one leaf pressed onto one piece of paper. Older kids can make patterns, borders, layered designs, color studies, greeting cards, or a small collection of local leaf prints.
Supplies Needed
You’ll need:
- Fresh leaves
- Acrylic paint or washable paint
- Foam brush, sponge, or small paintbrush
- Thick paper or cardstock
- Paper plate or shallow tray for paint
- Newspaper, scrap paper, or a washable table cover
Optional extras:
- Crayons or markers for adding stems, labels, or borders
- Cotton swabs for small paint details
- Card blanks for handmade cards
- A nature journal or folder for saving prints
- Apron or old shirt
Best Materials to Use
Fresh leaves usually print best because they are still flexible. Look for leaves with clear veins, interesting edges, and a fairly flat shape.
Ferns, oak leaves, maple leaves, and large garden leaves all work well. Summer leaves are often full and strong, which makes summer a good season for this craft.
Thick paper or cardstock is better than thin printer paper. It holds the paint without wrinkling as much.
Materials to Avoid
Avoid dry, crumbly leaves. They may break when pressed.
Avoid wet leaves, muddy leaves, unknown plants, mushrooms, berries, and anything collected from roadsides or sprayed lawns.
Avoid using too much paint. Thick paint can hide the leaf veins and make the print look like a blob.
Before You Start
- Collect leaves from a safe place where gathering is allowed.
- Choose leaves that are dry, clean, and not too brittle.
- Cover the table with scrap paper or a washable cloth.
- Put a small amount of paint on a paper plate or shallow tray.
- Set aside a drying spot before the printing begins.
Parent Setup Notes
For ages 3–5:
- Offer 2 or 3 leaves instead of a whole pile.
- Pour out only one or two paint colors at a time.
- Show children how to press with flat hands.
- Expect smudges, double prints, and extra paint.
For ages 6–8:
- Let kids choose several leaf shapes.
- Encourage simple patterns, borders, or color families.
- Let them test which leaves print best.
For ages 9–12:
- Invite kids to layer prints, label leaf names, or make a small botanical collection.
- They can plan a repeating pattern, use unexpected colors, or create imaginary plant shapes.
Step-by-Step Instructions
Step 1: Collect Fresh Leaves
Take a short nature walk or look around the yard for leaves with interesting shapes.
Choose leaves that are flexible and dry. Ferns, oak leaves, maple leaves, and large garden leaves are good choices.
Step 2: Set Up the Paint
Place a small amount of paint on a paper plate or shallow tray.
Use one color to start. Too many colors at once can turn muddy, especially with younger children.
Step 3: Paint the Underside of the Leaf
Turn the leaf over so the veins face up.
Use a foam brush, sponge, or small paintbrush to add a thin layer of paint to the underside of the leaf. Try to cover the veins and edges without making the leaf too wet.
Step 4: Press the Leaf Onto Paper
Place the painted side of the leaf down onto thick paper or cardstock.
Cover it with a scrap piece of paper, then press gently with flat hands. Press around the stem, edges, and tip of the leaf.
Step 5: Lift the Leaf Away
Peel the leaf up slowly from one side.
The print should show the veins, outline, and little details from the leaf. Some prints will be clear. Some will be pale or smudgy. Both are part of the craft.
Step 6: Make More Prints
Use the same leaf again for a lighter second print, or paint a new leaf in another color.
Kids can make rows, circles, scattered leaves, layered prints, or a whole page of different shapes.
Step 7: Let the Prints Dry
Place the finished paper in a drying spot for about 30 minutes.
Once dry, kids can add names, dates, borders, stems, little dots, or simple labels.
If Kids Get Stuck
Try one of these prompts:
- “Do you want to make one big leaf or lots of tiny leaves?”
- “Should the leaves make a pattern or look scattered?”
- “What color should this leaf be, real or pretend?”
- “Do you want to try the same leaf twice and see what changes?”
- “Could this become a card, a picture, or a page for a nature journal?”
Helpful Tips
- Paint the underside of the leaf. That is where the veins usually show best.
- Use a thin layer of paint.
- Press with flat hands instead of fingertips.
- Try a second print before repainting the leaf.
- Keep a scrap paper nearby for test prints.
- Let children experiment with uneven pressure. It helps them see what makes a clearer print.
Make It Easier
Use large leaves and washable paint.
For younger kids, place the painted leaf on the paper for them, cover it with scrap paper, and let them press. You can also tape the cardstock to the table so it does not slide.
Keep the first round simple: one leaf, one color, one print.
Make It More Detailed
Older kids can make a full leaf study page with several prints from different leaves.
They can label the leaves, create a repeating border, layer colors, make a set of handmade cards, or invent a plant by combining fern, oak, maple, and garden leaf prints in unexpected colors.
Seasonal Variations
Spring Version
Use small fresh leaves, soft greens, pale yellow, and flower petals as extra stamping shapes.
Summer Version
Use full leafy shapes from the garden. Ferns, maple, oak, and large garden leaves often print clearly in summer.
Autumn Version
Use orange, red, brown, gold, and deep green paint. Pair leaf prints with acorns, seed pods, or twig drawings.
Winter Version
Use evergreen sprigs or sturdy houseplant leaves. Try white paint on dark paper for a snowy leaf print.
Gift or Display Ideas
The finished craft can be:
- Framed or taped to a wall
- Folded into a handmade card
- Added to a nature journal
- Used as wrapping paper for a small gift
- Cut into gift tags after drying
- Saved as a seasonal leaf collection
Safety Notes
Adult help is needed for safe collecting and paint setup.
Only collect leaves from places where gathering is allowed. Avoid unknown plants, mushrooms, berries, roadsides, sprayed lawns, and protected plants.
Use washable paint for younger children. Acrylic paint can stain clothing and surfaces, so use an apron or old shirt.
Clean-Up
Most of the cleanup is paint, leaves, and scrap paper.
Wipe brushes, sponges, and trays before the paint dries. Toss painted leaves when finished. Save clean, unused leaves only if they are dry and not crumbling.
Let painted papers dry flat before stacking them.
Finished Craft
When finished, kids will have leaf prints that show real shapes from nature.
The prints can become wall art, cards, nature journal pages, gift tags, or the start of a larger painted garden. The faded edges, uneven paint, and small smudges are part of the child-made charm.
Get the free Fairy Marketplace Craft Book
14 beautiful one-page craft tutorials, from nature weaving to cardboard box towns. Plus our favorite new craft ideas and free printables a few times a season.
No spam, ever. Unsubscribe any time.
Check your inbox! Your craft book is on the way. (Give it a few minutes, and peek in the spam folder just in case.)