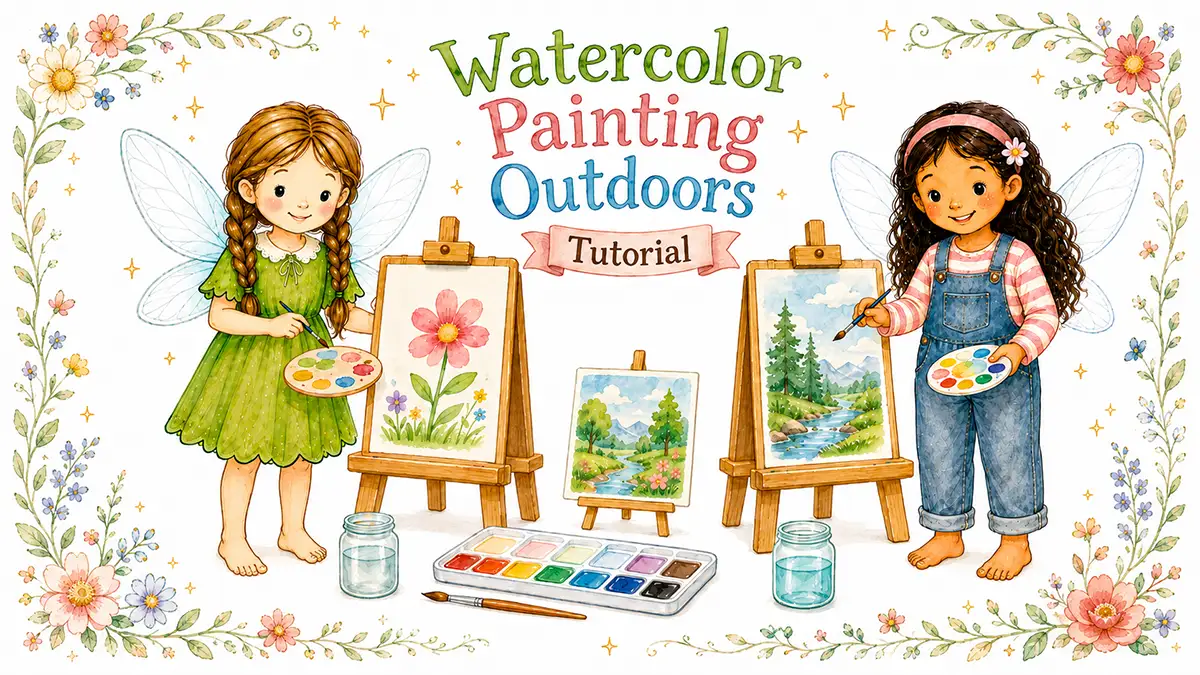
This craft works well for quiet summer afternoons, shaded porches, picnic tables, garden blankets, and rainy-day craft tables near a window. The setup is small, the materials are familiar, and the finished painting can be displayed, mailed, or tucked into a nature journal.
Quick Details
Ages: 3+
Active time: 20 minutes
Extra time: None
Materials: Watercolor paints, paper, brush, water, board
Mess level: Low to medium
Best for: Quiet afternoons, summer crafting, rainy-day craft tables, screen-free time
Main skills: Painting, observing, choosing colors, brush control
Adult help needed: For setting up water, protecting the work surface, and guiding younger kids
Why Kids Like This Craft
Kids like watercolor painting because the colors move easily on the page. A brush dipped in water can turn a small bit of paint into a soft sky, a leaf shape, a flower, or a puddle of color.
Painting outdoors gives children something real to look at. Instead of starting with a wide-open idea, they can use a simple prompt: “Paint just one thing you can see from where you are sitting.”
That small limit often helps. A child might choose one flowerpot, one tree branch, one cloud, one chair, or one bright patch of grass.
What Kids Will Make
Kids will make a watercolor painting inspired by something they can see outside.
The simplest version is one painted object on the page. Older kids can add a background, small shadows, a border, a date, or a few written words about what they noticed.
Supplies Needed
You’ll need:
- Watercolor paints
- Watercolor paper or thick mixed-media paper
- Paintbrush
- Cup or jar of clean water
- A small board, tray, clipboard, or flat surface
- Paper towel or cloth for blotting the brush
Optional extras:
- Pencil for a light sketch
- Painter’s tape
- Apron or old shirt
- Nature journal
- Clothespins or small rocks to hold paper in place outside
Best Materials to Use
Watercolor paper works best because it can handle water without wrinkling too much. Thick mixed-media paper is also fine.
A simple watercolor palette is enough. Children do not need many colors. Fewer colors can make the setup calmer and easier to manage.
Use a board, clipboard, tray, or piece of cardboard under the paper so kids can paint on grass, a porch step, or a picnic table without the paper sliding around.
Materials to Avoid
Avoid thin printer paper if you can. It gets soggy quickly and may tear when children use a wet brush.
Avoid permanent paints, breakable water jars, and very tiny paintbrushes for younger children. A medium brush is easier for small hands to control.
Before You Start
Choose a shaded spot if you are painting outside. Bright sun can dry paint quickly and make it harder for children to see their paper.
Fill the water cup only halfway to reduce spills.
Place everything on a tray or board before calling kids over. Watercolor painting is simple, but a ready station helps the activity begin calmly.
For younger children, tape the paper to the board so it stays in place.
Parent Setup Notes
For ages 3–5:
- Offer one piece of paper and a small set of colors.
- Tape the paper down.
- Choose a simple view, like one flowerpot, one leaf, one toy, or one cloud.
- Expect color mixing and watery marks.
For ages 6–8:
- Let kids choose their own view.
- Invite them to paint one main thing first, then add a little background.
- Show them how to rinse and blot the brush between colors.
For ages 9–12:
- Encourage a light pencil sketch before painting.
- Let them try layering pale color first, then darker details.
- Invite them to add the date, location, or a tiny title.
Step-by-Step Instructions
Step 1: Set Up a Small Painting Spot
Place the paper on a board, tray, or clipboard.
Set the paints, brush, water cup, and cloth nearby. Keep the water cup where it will not tip easily.
Step 2: Choose One Thing to Paint
Ask children to look around from where they are sitting.
Use this prompt: “Paint just one thing you can see from here.”
Good choices include a leaf, flower, tree branch, cloud, garden chair, watering can, stone, bird feeder, or patch of grass.
Step 3: Start with Water
Have kids dip the brush in water first, then touch the paint.
They can test the color on the corner of the paper or a scrap piece before painting their main picture.
Step 4: Paint the Main Shape
Paint the biggest shape first.
This might be a round flower center, a tall tree trunk, a soft cloud, or a wide leaf. It does not need to be exact.
Step 5: Add Soft Details
Once the main shape is painted, add small details.
Children can add lines on a leaf, dots in a flower, a darker edge on a cloud, or little marks for grass.
Use less water for darker details. Use more water for pale, soft color.
Step 6: Let the Painting Dry Flat
Place the painting somewhere safe to dry.
In warm outdoor air, watercolor usually dries quickly. If the paper is very wet, leave it flat until it stops curling.
Step 7: Add a Date or Title
Once dry, kids can write the date, place, or a short title at the bottom.
Simple titles work well, like “One Leaf,” “Cloud Over the Fence,” or “Grandma’s Garden Chair.”
If Kids Get Stuck
Try one of these prompts:
- “What is the smallest thing you can see?”
- “Can you paint just one leaf instead of the whole tree?”
- “What color do you see first?”
- “Do you want your painting to be soft and watery or darker with more details?”
- “What part should stay white?”
Helpful Tips
- Keep the water cup small and only half full.
- Use a cloth or paper towel for blotting the brush.
- Start with pale colors. Kids can add darker colors later.
- Let puddles dry instead of rubbing the paper.
- Tape the paper down if the breeze keeps moving it.
- A child-made painting does not need to look like the real object. The looking is part of the craft.
Make It Easier
Set up at a table and place one simple object in front of the child, such as a leaf, flower, shell, pinecone, or small toy.
You can also give younger kids only three colors and one brush. Fewer choices make the activity easier to start.
Make It More Detailed
Older kids can make a small outdoor painting series.
They might paint:
- The same leaf from three angles
- One object in light and shadow
- A row of garden colors
- A tiny landscape from their seat
- A painted page for a nature journal
They can also add a thin border with painter’s tape, then peel it off when the painting is dry.
Seasonal Variations
Spring Version
Paint new leaves, small flowers, puddles, worms, rain clouds, or a vase of cut flowers near a window.
Summer Version
Paint garden chairs, sandals by the door, sun hats, tomato plants, beach stones, or tall grass.
Autumn Version
Paint fallen leaves, seed pods, pumpkins, bare branches, acorns, or a warm-colored sky.
Winter Version
Paint evergreen branches, a mug by the window, bare trees, snowy roofs, or indoor plants.
Gift or Display Ideas
The finished painting can be:
- Taped to a wall or window
- Added to a nature journal
- Mailed as a note to a grandparent
- Cut into a simple bookmark once dry
- Saved in a folder of seasonal paintings
Safety Notes
Use washable watercolor paints for younger children.
Adult help may be needed when carrying water, setting up outdoors, or using scissors if the finished painting is trimmed later.
If children collect leaves, flowers, or natural objects to paint from, avoid unknown plants, mushrooms, berries, roadsides, sprayed lawns, and protected plants. Collect only where it is allowed.
Clean-Up
Pour out the paint water, rinse the brush, and wipe the palette if needed.
Let the painting dry flat before stacking it with other papers. Save leftover watercolor paper scraps for small color tests, bookmarks, or tiny paintings.
Finished Craft
When finished, kids will have a watercolor painting based on something they noticed outdoors.
It might be a soft leaf, a wobbly flower, a blue-gray cloud, or a few bright garden marks. The painting does not need to look polished. The quiet looking, watery colors, and small child-made details are the charm.
Get the free Fairy Marketplace Craft Book
14 beautiful one-page craft tutorials, from nature weaving to cardboard box towns. Plus our favorite new craft ideas and free printables a few times a season.
No spam, ever. Unsubscribe any time.
Check your inbox! Your craft book is on the way. (Give it a few minutes, and peek in the spam folder just in case.)