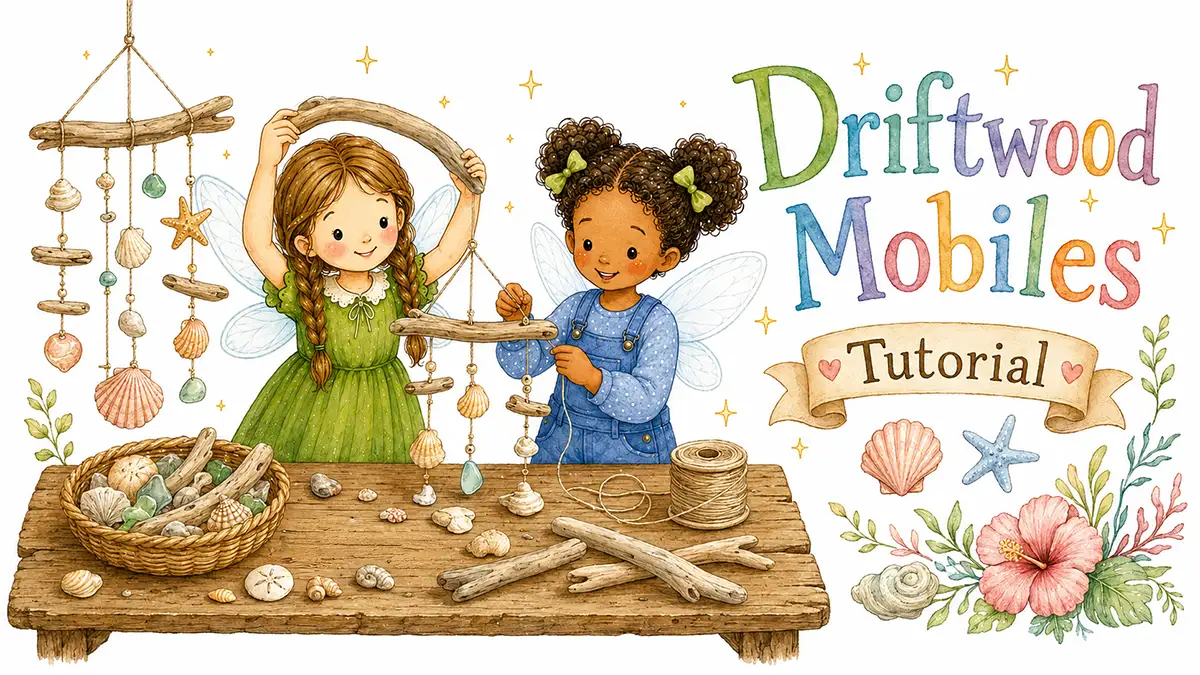
Driftwood Mobiles are a simple coastal craft for kids ages 6+. Children use shells, driftwood, and thin twine or fishing line to make a hanging mobile that can be displayed at home or given as a handmade gift.
The collecting is part of the making. If your summer includes time near the water, children can look for smooth driftwood and shells with a finished project in mind. Back at home, the mobile holds the memory of where those pieces came from.
Quick Details
Ages: 6+
Active time: 30 minutes
Extra time: None
Materials: Shells, driftwood, twine or fishing line
Mess level: Low
Best for: Quiet afternoons, handmade gifts, summer crafting, screen-free time
Main skills: Collecting, arranging, threading, tying, balancing
Adult help needed: For drilling or piercing shell holes, checking materials, and tying secure knots
Why Kids Like This Craft
Kids like this craft because it begins before the table setup. They get to search for small shells, smooth driftwood, and little pieces that feel worth bringing home.
The finished mobile also has a memory tucked into it. A shell from a beach walk or a piece of driftwood from a lakeside afternoon becomes part of something they can hang and keep.
What Kids Will Make
Kids will make a hanging mobile using one piece of driftwood as the top bar.
Shells hang from thin twine or fishing line at different lengths. The simplest version uses three shell strings. Older kids can add more strands, patterns, knots, beads, or labels for where the materials were found.
Supplies Needed
You’ll need:
- One sturdy piece of driftwood
- Small shells
- Thin twine, cotton string, or fishing line
- Drill with small bit or shell hole punch
- Scissors
- Tray or shallow bowl for holding shells
Optional extras:
- Small natural beads
- Sea glass with pre-drilled holes
- Small feathers
- Paint pen for labeling the driftwood
- Clear tape for stiffening string ends
Best Materials to Use
Choose driftwood that is dry, smooth, and not too heavy. A piece about 8 to 14 inches long is easy for children to handle.
Small shells work best because they are lighter and easier to hang. Flat shells, tiny scallop shells, and shells that already have natural holes are especially helpful.
Thin twine gives the mobile a soft, natural look. Fishing line makes the shells look like they are floating.
Materials to Avoid
Avoid damp, smelly, brittle, or very heavy driftwood.
Avoid sharp shells, broken shell pieces, unknown beach debris, fishing hooks, glass, or anything collected from unsafe water areas.
Avoid tiny beads for children who still put small objects in their mouths.
Before You Start
Rinse shells and driftwood if needed, then let them dry completely before crafting.
Sort the shells in a tray so children can see their choices. If you are using a drill, an adult should make the shell holes before children begin threading.
For a calmer setup, cut several lengths of twine or fishing line ahead of time.
Parent Setup Notes
For ages 6–8:
- Pre-drill or punch the shell holes.
- Offer three to five hanging strings.
- Help tie the first knot onto the driftwood.
- Keep the shell choices small and easy to thread.
For ages 9–12:
- Let kids plan the mobile layout before tying.
- Invite them to vary string lengths.
- Let them create patterns with shell size, color, or shape.
- They can add a small label with the beach, lake, or date.
Step-by-Step Instructions
Step 1: Choose the Driftwood
Pick one dry piece of driftwood to use as the top of the mobile.
Lay it flat on the table and decide which side will face forward.
Step 2: Sort the Shells
Place the shells in a shallow tray.
Ask kids to choose a few favorite shells first. They can sort by size, color, shape, or where they found each one.
Step 3: Make Holes in the Shells
An adult should drill or pierce small holes near the edge of each shell.
Go slowly, and only use shells that are sturdy enough to handle a hole. Shells with natural holes are the easiest option.
Step 4: Cut the Hanging Strings
Cut three to six pieces of twine or fishing line.
Make each piece a different length so the shells hang at slightly different levels.
Step 5: Thread the Shells
Thread one shell onto each string.
Tie a small knot under the shell to hold it in place. Add more shells on the same string if the mobile still feels light enough to hang.
Step 6: Tie Strings to the Driftwood
Tie each shell string to the driftwood.
Space them out across the stick. The strings do not need to be perfectly even.
Step 7: Add a Hanging Loop
Cut one longer piece of twine.
Tie one end near the left side of the driftwood and the other end near the right side to make a hanging loop. Hold it up and adjust the knots until the mobile hangs fairly straight.
Step 8: Trim and Display
Trim any long string ends.
Hang the mobile where it can move gently, such as on a covered porch, bedroom wall, playroom hook, or nature table area.
If Kids Get Stuck
Try one of these prompts:
- “Which shell do you want people to notice first?”
- “Should the strings be short, long, or mixed?”
- “Do you want the shells to match or look collected?”
- “Which piece reminds you most of the water?”
- “Where should this mobile hang when it is finished?”
Helpful Tips
- Drill shell holes before the craft begins if younger kids are joining.
- Use a tray so tiny shells do not roll across the table.
- Keep the mobile light. Too many shells can make it hard to hang.
- Tie knots twice if the twine slips.
- If fishing line is hard to see, work over a dark cloth or tray.
Make It Easier
Use shells with natural holes so no drilling is needed.
You can also tie shells into small bundles with twine instead of threading through holes. Another easy option is to use craft-store shells that already have holes.
Make It More Detailed
Older kids can plan the mobile on paper before tying.
They can make:
- A pattern from small to large shells
- A mobile with one color family
- A beach memory mobile with a date label
- A gift mobile for a grandparent
- A mixed natural mobile with shells, driftwood, feathers, and smooth stones wrapped in twine
Seasonal Variations
Spring Version
Use pale shells, small feathers, and soft cotton string.
Summer Version
Use shells and driftwood collected from a beach, lake, or river trip.
Autumn Version
Add seed pods, dried grasses, or warm-colored beads.
Winter Version
Use white shells, silver string, and a simple piece of driftwood for a quiet window display.
Gift or Display Ideas
The finished mobile can be:
- Hung in a bedroom
- Added to a covered porch
- Given as a handmade gift
- Displayed on a nature table
- Saved as a summer trip keepsake
Safety Notes
Adult help is needed for drilling or piercing shells.
Supervise scissors, fishing line, small shells, and beads. Fishing line can be hard to see, so keep loose pieces away from younger children and pets.
For collecting, avoid sharp shells, broken glass, fishing hooks, unknown debris, protected areas, roadsides, and polluted water areas. Collect only where it is allowed.
Clean-Up
This is a low-mess craft. Most cleanup is small shell pieces, trimmed string, and a little dust from drilled shells.
Save extra shells in a labeled jar, envelope, or small box. Toss cracked sharp pieces and any natural materials that smell damp or dirty.
Finished Craft
When finished, kids will have a handmade driftwood mobile with shells hanging at different lengths.
It does not need to hang perfectly straight. The uneven strings, favorite shells, and child-made knots are part of what makes it worth keeping.
Get the free Fairy Marketplace Craft Book
14 beautiful one-page craft tutorials, from nature weaving to cardboard box towns. Plus our favorite new craft ideas and free printables a few times a season.
No spam, ever. Unsubscribe any time.
Check your inbox! Your craft book is on the way. (Give it a few minutes, and peek in the spam folder just in case.)