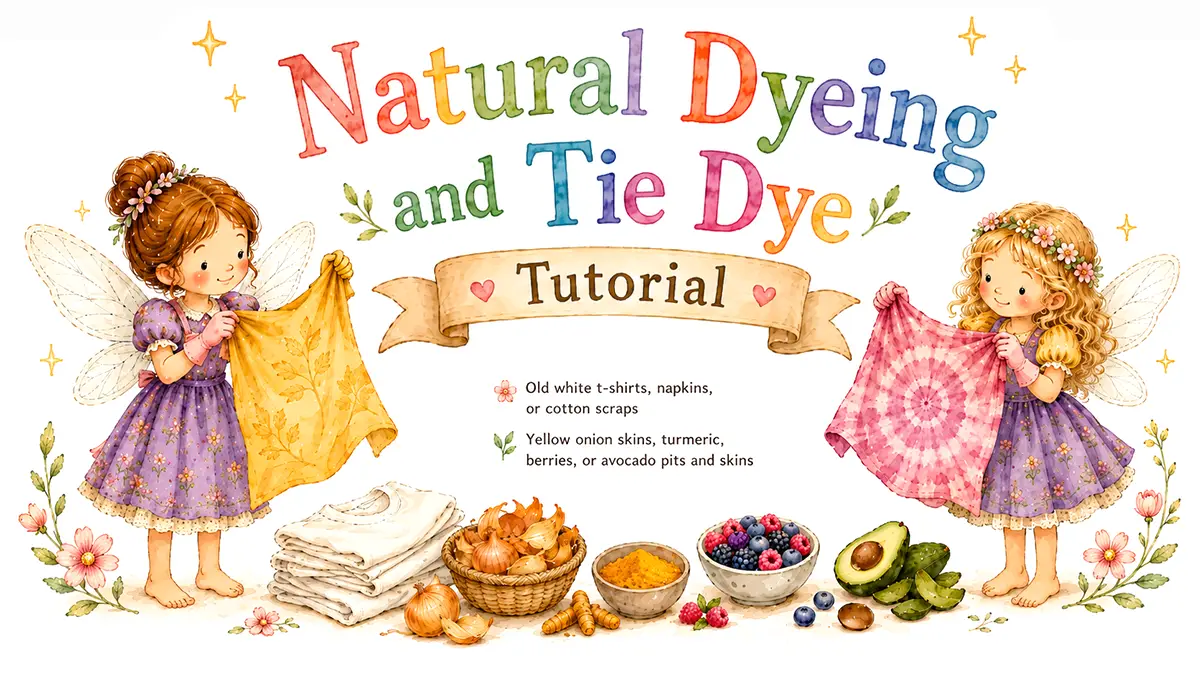
This is a brilliant summer day craft, a simple science lesson, and a lovely way to make handmade gifts from old white t-shirts, napkins, tote bags, or scraps of cotton fabric.
In this Tie Dye Tutorial, you will learn how to create beautiful patterns and colors.

Quick Details
- Ages: 6+
- Active Time: 45 minutes
- Additional Time: 1 hour simmering, plus several hours for soaking and drying
- Mess Level: Medium to High
- Best For: Rainy day craft tables, natural science lessons, handmade gifts, and curious kids who like experiments
- Adult Help Needed: Yes. This craft uses hot water and simmering dye pots.
Why Kids Love It
- It is a Kitchen Experiment: One pot might turn fabric golden yellow, while another surprises everyone with dusty pink.
- Cause and Effect: The final colour depends on the fabric, the dye material, the water, and the soak time.
- No Perfection Required: A wrinkly shirt, a pale patch, or a darker corner all become part of the unique design.
Supplies Needed
- 100% Cotton Fabric: Old white t-shirts, napkins, tote bags, or cotton scraps
- Natural Dye Materials: Yellow onion skins, turmeric, berries, or avocado pits and skins
- Fixative: Salt (for berries) or White Vinegar (for plants)
- Equipment: Stainless steel pot, large spoon or tongs, bowls or jars for soaking
- Other: Water, rubber bands, an old towel or drying rack
- Optional: Gloves (highly recommended for turmeric)
Easy Natural Dyes to Try
Natural dyes work best on natural fibres like cotton or linen. Polyester and synthetic fabrics usually do not hold the colour well.
- Yellow Onion Skins: Create a warm golden colour. Save the papery skins over a few days or ask a neighbour to save some for you.
- Turmeric: Creates a bright yellow. It gives strong colour quickly but stains heavily. Treat it like yellow paint with a grudge.
- Avocado Pits and Skins: Create a surprising dusty pink. They need to simmer for about an hour, but the colour is worth the wait.
- Berries: Create pink, purple, or reddish tones. Note that berry colours may fade faster than plant based dyes.
Before You Start
- Protect Your Space: Cover your work area with an old towel, newspaper, or a washable tablecloth.
- Use Stainless Steel: Some metals can react with the dye and change the colour.
- Pre-Wash the Fabric: This removes dirt, oils, and finishes that can block the dye.
- Adult Supervision Required: Adults must handle all heating, simmering, and pouring.
- Turmeric Warning: It can permanently stain porous surfaces and hands. Wear gloves.
Step-by-Step Instructions
1. Prepare the Fabric
Start with clean, dry, plain white or very light fabric. For a tie dye effect, use these simple folds:
- Spiral Twist: Pinch the middle, twist the fabric into a swirl, and secure with rubber bands.
- Stripe Fold: Fold the fabric like an accordion and add rubber bands every few inches.
- Scrunch Method: Scrunch the fabric into a loose ball and band it in several places.
- Dot Pattern: Pinch small sections of fabric and wrap each one with a rubber band.
2. Pre-Soak the Fabric
Fill a bowl with warm water. Add salt for berry based dyes or white vinegar for plant based dyes (like onion skins and avocado). Soak the fabric for at least 30 minutes to help the colour hold and reduce fading.
3. Make the Dye Bath
Add your dye material to the stainless steel pot with enough water to cover the fabric later.
- Onion skins: A generous handful or two.
- Turmeric: 1 to 2 tablespoons.
- Avocado: Several clean pits and skins.Bring the pot to a gentle simmer. Onion skins and turmeric show colour quickly. Avocado pits and skins need about 1 hour to release their pink colour.
4. Strain the Dye
Have an adult carefully strain out the plant material. You want coloured liquid without bits floating around. Pour the strained dye back into the pot or a large heat safe bowl.
5. Add the Fabric
Place the pre-soaked fabric into the dye bath. Use tongs or a large spoon to press it under the liquid.
- Pale Colour: Soak for 30 to 60 minutes.
- Deep Colour: Soak for several hours.
- Strongest Results: Leave it overnight in a safe place after the dye bath has cooled.(Note: Natural dye usually dries lighter than it looks when wet.)
6. Rinse Gently
Remove the fabric and rinse it in cool water until the water runs mostly clear. Do not scrub. Just rinse gently and squeeze out the extra water.
7. Remove the Rubber Bands
Cut or unwrap the rubber bands and open the fabric. The pattern will appear all at once. Some areas will be bold, pale, or uneven. That is normal and usually the prettiest part!
8. Dry Completely
Hang the fabric outside, lay it flat on an old towel, or place it on a drying rack. Wash dyed items separately in cool water for the first few washes, as natural dye can continue to release colour.
Fun Things to Make
Dyed cotton squares can become doll blankets, nature table cloths, gift wrap, bunting, patches, or small sewing projects. Cotton napkins or tote bags make lovely handmade gifts for grandparents, teachers, or friends.
What Kids Learn
Natural dyeing teaches color mixing, observation, patience, plant science, and cause and effect. It is a craft, but it also feels like a slow science experiment. Children can see that small changes to the soak time, fabric type, or dye material completely change the final result.
Looking for more fun crafts to try? Check out our Finger Puppet and, Paper Bag Fairy House tutorials!
Get the free Fairy Marketplace Craft Book
14 beautiful one-page craft tutorials, from nature weaving to cardboard box towns. Plus our favorite new craft ideas and free printables a few times a season.
No spam, ever. Unsubscribe any time.
Check your inbox! Your craft book is on the way. (Give it a few minutes, and peek in the spam folder just in case.)