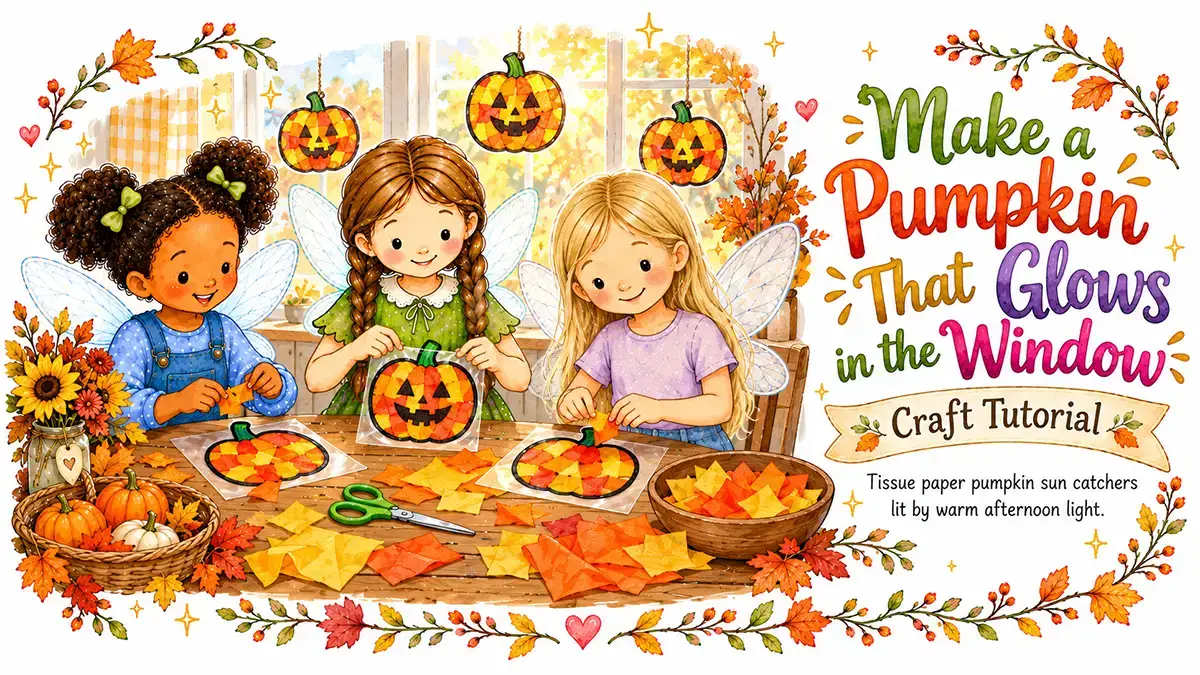
Sun catchers feel especially right in summer. They sit quietly in the window, then suddenly come alive when the sunlight moves through them. By afternoon, little patches of colour can stretch across the floor, the wall, or the breakfast table.
This is a simple, low-mess craft for younger children, with an optional crayon-shaving version for older kids who are ready for a little extra making.
Quick Details
- Ages: 3+
- Active Time: 30 minutes
- Additional Time: None
- Mess Level: Low
- Best For: Quiet afternoons, rainy-day craft tables, summer windows, and nature-inspired crafting
Why Kids Love It
- The light changes it: Their artwork looks different depending on the time of day.
- Easy for small hands: Tearing tissue paper is simple, satisfying, and wonderfully forgiving.
- No perfect version needed: Overlapping colours, crooked edges, and tiny leaf bits all look beautiful in the window.
- It feels a little surprising: What looks like a simple paper craft on the table becomes bright and glowing in the sun.
Supplies Needed
- Clear contact paper
- Coloured tissue paper
- Scissors
- Pressed flowers or leaves
- Tape or string for hanging
Optional older-kid version:
- Crayons
- Pencil sharpener
- Parchment paper
- Towel
- Iron, for adult use only
Before You Start
- Cut first for younger children: Pre-cut the contact paper into simple shapes like circles, hearts, windows, leaves, or butterflies.
- Use small tissue pieces: Little scraps are easier to layer and let more light through.
- Keep the sticky side steady: Tape the contact paper sticky-side-up to the table so it does not curl while children work.
- Choose flat nature pieces: Pressed flowers and leaves work best. Thick leaves or fresh flowers can make the sun catcher bumpy and harder to seal.
- Adult-only heat: For the crayon-shaving version, an adult should handle the iron from start to finish.
Step-by-Step Instructions
- Prepare the contact paper: Cut a piece of clear contact paper and peel off the backing. Place it sticky-side-up on the table.
- Add tissue paper: Let children tear or cut small pieces of coloured tissue paper. Place the pieces onto the sticky contact paper, overlapping colours as they go.
- Add nature details: Add a few pressed flowers or leaves if you have them. Ferns, small petals, and thin leaves look lovely when the light shines through.
- Seal the sun catcher: Peel the backing from a second piece of contact paper and place it sticky-side-down over the design. Press gently to seal the layers together.
- Trim the edges: Cut around the shape to tidy the edges. Leave a small clear border so the sun catcher stays sealed.
- Hang it up: Tape it directly to a sunny window, or punch a small hole and hang it with string.
- Watch the light move: Check it at different times of day. Morning light, noon light, and late afternoon light will all make the colours look a little different.
Older-Kid Version: Crayon Shaving Sun Catchers
For children who want a more stained-glass look, try the crayon-shaving version.
- Make crayon shavings: Use a pencil sharpener to shave crayons into small curls and flakes.
- Arrange the colours: Sprinkle the shavings between two sheets of parchment paper. Use a light hand. Too many shavings can turn muddy once melted.
- Cover with a towel: Place a towel over the parchment paper to protect the iron and work surface.
- Melt the shavings: An adult uses a warm iron to gently melt the crayon shavings.
- Cool and cut: Let the melted crayon sheet cool completely, then cut it into simple shapes.
- Hang in a window: Tape it to a sunny window and watch the melted colours glow.
Quick Tips
- Try colour families: Use all warm colours, all cool colours, or one favourite colour with a few little surprises mixed in.
- Make a window garden: Cut several sun catchers into flower, leaf, and butterfly shapes.
- Use scraps: This is a great craft for leftover tissue paper from gift bags.
- Avoid too many layers: A little overlap is beautiful, but heavy layers can block the light.
- Turn it into a quiet observation moment: Ask children what colours they see on the wall or floor after the sun hits their work.
Simple Extension Ideas
- Make a rainbow window.
- Create a sun catcher mobile with several hanging shapes.
- Use only leaves and flowers for a nature-window look.
- Make one sun catcher in the morning, then check how it looks in the afternoon light.
- Pair it with a short conversation about sunlight, shadows, and transparent materials.
Sun catchers are one of those easy summer crafts that do not need much explaining once children get started. Give them sticky paper, scraps of colour, and a patch of sunlight, and they usually know exactly what to do.
Get the free Fairy Marketplace Craft Book
14 beautiful one-page craft tutorials, from nature weaving to cardboard box towns. Plus our favorite new craft ideas and free printables a few times a season.
No spam, ever. Unsubscribe any time.
Check your inbox! Your craft book is on the way. (Give it a few minutes, and peek in the spam folder just in case.)