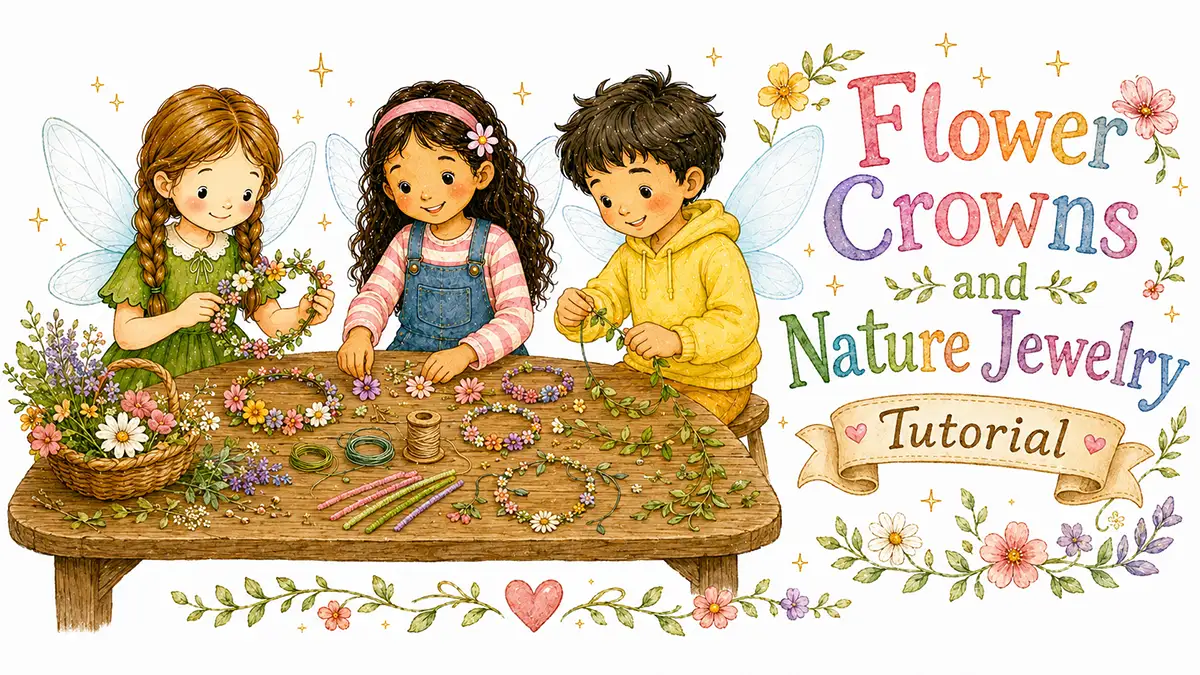
Flower crowns and nature jewelry are simple summer crafts for kids ages 6+. Children use flowers, foliage, stems, twine, pipe cleaners, or thin floral wire to make wearable crowns, bracelets, necklaces, and leafy garlands.
This craft works especially well after a nature walk, during a quiet afternoon outside, or as a hands-on activity for a summer gathering. Kids can wear what they make right away, trade flowers with each other, and add small details as they go.
Quick Details
Ages: 6+
Active time: 20 minutes
Extra time: None
Materials: Flowers, foliage, stems, wire or pipe cleaners, twine
Mess level: Low
Best for: Nature walks, quiet afternoons, summer gatherings, handmade gifts
Main skills: Collecting, arranging, tying, twisting, threading
Adult help needed: For trimming stems, checking plants, and helping secure tight knots or wire ends
Why Kids Like This Craft
Kids enjoy flower crowns and nature jewelry because the finished craft is ready to wear right away. A clover bracelet can go straight onto a wrist. A flower crown can be worn for pretend play, photos, a backyard party, or a walk around the garden.
This craft also works well in groups. Children often share flowers, compare colors, help each other hold pieces in place, and end up with matching crowns or bracelets.
What Kids Will Make
Kids will make wearable nature pieces using flowers, leaves, soft stems, clover, twine, pipe cleaners, or thin wire.
The simplest version is a pipe cleaner bracelet with flowers twisted on. Older kids can make a full flower crown, a clover chain, a seed bead necklace, or a leafy garland.
Supplies Needed
You’ll need:
- Fresh flowers with flexible stems
- Clover, daisies, small wildflowers, herbs, or soft greenery
- Pipe cleaners or thin floral wire
- Twine, yarn, or cotton string
- Child-safe scissors
- A shallow tray or basket for collected flowers
Optional extras:
- Wooden beads or large seed beads
- Ribbon
- Hole punch for leaf pendants
- Small paper tags for names or gift labels
Best Materials to Use
Soft, flexible stems are easiest for kids to twist, braid, or tie. Clover, daisies, lavender sprigs, small garden flowers, herbs, and leafy vines all work well.
Pipe cleaners are helpful for younger children because they hold their shape and do not need tricky knots. Twine gives a more natural look, but it may need adult help to tie tightly.
Flowers that are slightly sturdy work better than very delicate petals. Pick pieces with a little stem left so kids have something to wrap or tie.
Materials to Avoid
Avoid unknown plants, mushrooms, berries, and anything collected near roadsides or sprayed lawns.
Avoid thorny stems, sticky sap, irritating plants, or flowers with strong pollen if a child has sensitivities.
Avoid very tiny beads for children who still put things in their mouths.
Before You Start
Collect only where it is allowed. A backyard, garden, park, or a few stems from a store-bought bouquet can all work.
Choose flowers that are dry, not wet from rain or sprinklers. Damp flowers can feel slimy and may wilt faster.
Set out the materials in small piles or shallow trays. This makes it easier for kids to see what they have and keeps the table from turning into a heap of stems.
Parent Setup Notes
For ages 3–5, make this a decorating activity. Pre-make a pipe cleaner crown or bracelet base, then let children choose flowers for an adult to twist on.
For ages 6–8, show kids how to overlap stems and twist pipe cleaners. Keep the choices simple: crown, bracelet, necklace, or garland.
For ages 9–12, let kids plan color patterns, add ribbon ties, make matching sets, or create more detailed braided pieces.
Step-by-Step Instructions
Step 1: Collect Flowers and Greenery
Take a short nature walk or gather safe flowers from the garden.
Look for small flowers, soft leaves, clover, herbs, and flexible stems. Place them in a basket, bowl, or tray so they do not get crushed.
Step 2: Choose What to Make
Let each child choose one wearable piece:
- Flower crown
- Clover chain bracelet
- Leaf garland
- Twine necklace
- Small flower ring
- Matching bracelets for friends
For a group, start with bracelets. They are quick, simple, and easy to finish.
Step 3: Make the Base
For a crown, twist two or three pipe cleaners together until they fit around the child’s head.
For a bracelet, use one pipe cleaner or a piece of twine long enough to wrap around the wrist.
For a necklace, cut a longer piece of twine and tie one end loosely so pieces do not slide off.
Step 4: Add Flowers
Lay one flower stem along the base. Wrap the pipe cleaner, twine, or wire around the stem to hold it in place.
Add the next flower so it overlaps the first stem. Keep moving around the crown or bracelet, adding one small piece at a time.
Small gaps are fine. The handmade, uneven look is part of the charm.
Step 5: Try a Clover Chain
To make a simple clover chain, gently split the stem of one clover with a fingernail or adult-helped scissors.
Slide another clover stem through the slit, then repeat. Keep adding clover until the chain is long enough for a bracelet or necklace.
Tie or twist the ends together gently.
Step 6: Add Leaves, Ribbon, or Beads
Add a few leaves to fill empty spaces.
Older kids can thread large beads onto twine, tie on short ribbon pieces, or make a small leaf pendant.
Keep the decorations light so the crown or necklace is still comfortable to wear.
Step 7: Secure the Ends
Twist pipe cleaner ends together and fold sharp tips inward.
Tie twine in a simple knot. Adults may need to help make the knot tight enough to hold.
For crowns, check the fit before trimming extra length.
Step 8: Wear or Gift
Let kids wear their flower crowns and nature jewelry right away.
These pieces are temporary, which is part of the fun. They are best enjoyed the same day they are made.
If Kids Get Stuck
Try one of these prompts:
- “Do you want your crown to look wild or simple?”
- “Which flower should go in the front?”
- “Do you want a bracelet, necklace, or crown first?”
- “Should we make matching ones?”
- “What tiny leaf would fill this gap?”
Helpful Tips
Use short stems. Long stems can get tangled.
Start with fewer flowers than you think you need. Kids can always add more.
Pipe cleaners are easier than twine for first-time flower crowns.
Keep a small bowl for broken petals and trimmed stems.
Make the base first, then decorate it. This is easier than trying to build the whole crown from loose flowers.
Make It Easier
Use pipe cleaners for the base and twist flowers on one at a time.
For younger kids, an adult can make a plain crown or bracelet first. Children can choose the flowers and decide where each one should go.
You can also make tiny flower rings instead of full crowns. One flower, one short pipe cleaner, and one twist is enough.
Make It More Detailed
Older kids can make full nature jewelry sets with a crown, bracelet, and necklace.
They can plan color patterns, add herb sprigs, weave clover chains, label each piece with a name tag, or make matching crowns for a group.
They can also try a leafy garland for a table, chair back, garden gate, or pretend woodland celebration.
Seasonal Variations
Spring Version
Use clover, violets, small daisies, pansies, and soft green leaves.
Summer Version
Use garden flowers, herbs, lavender, daisies, and long grasses.
Autumn Version
Use colorful leaves, seed pods, dried grasses, and twine. Skip fragile dry leaves for bracelets since they may crumble.
Winter Version
Use evergreen sprigs, ribbon, paper flowers, or felt leaves instead of fresh flowers. Adults should check evergreens first, since some plants can be irritating or unsafe.
Gift or Display Ideas
The finished craft can be:
- Worn during a backyard party
- Given to a sibling, friend, parent, or grandparent
- Used for pretend play
- Draped over a chair, basket, or nature table
- Saved in a photo before it wilts
Safety Notes
Adults should check all natural materials before children handle or wear them.
Avoid unknown plants, mushrooms, berries, thorns, roadsides, sprayed lawns, and protected plants. Collect only where it is allowed.
Adult help may be needed with scissors, floral wire, tight knots, and trimming stems. Fold wire or pipe cleaner ends inward so they do not poke skin.
Do not let children put flowers, leaves, stems, or beads in their mouths.
Clean-Up
This is a low-mess craft. Most cleanup is trimmed stems, loose petals, small leaves, and bits of twine.
Compost safe plant scraps if you can. Toss unknown plants, broken wire, or anything damp and messy.
Save unused ribbon, pipe cleaners, twine, and beads for another craft.
Finished Craft
When finished, kids will have a handmade flower crown, bracelet, necklace, or garland they can wear, share, gift, or use for pretend play.
The flowers may wilt by evening, but that is part of this craft’s small summer charm. A crown made outdoors, worn right away, and remembered in a photo is enough.
Get the free Fairy Marketplace Craft Book
14 beautiful one-page craft tutorials, from nature weaving to cardboard box towns. Plus our favorite new craft ideas and free printables a few times a season.
No spam, ever. Unsubscribe any time.
Check your inbox! Your craft book is on the way. (Give it a few minutes, and peek in the spam folder just in case.)