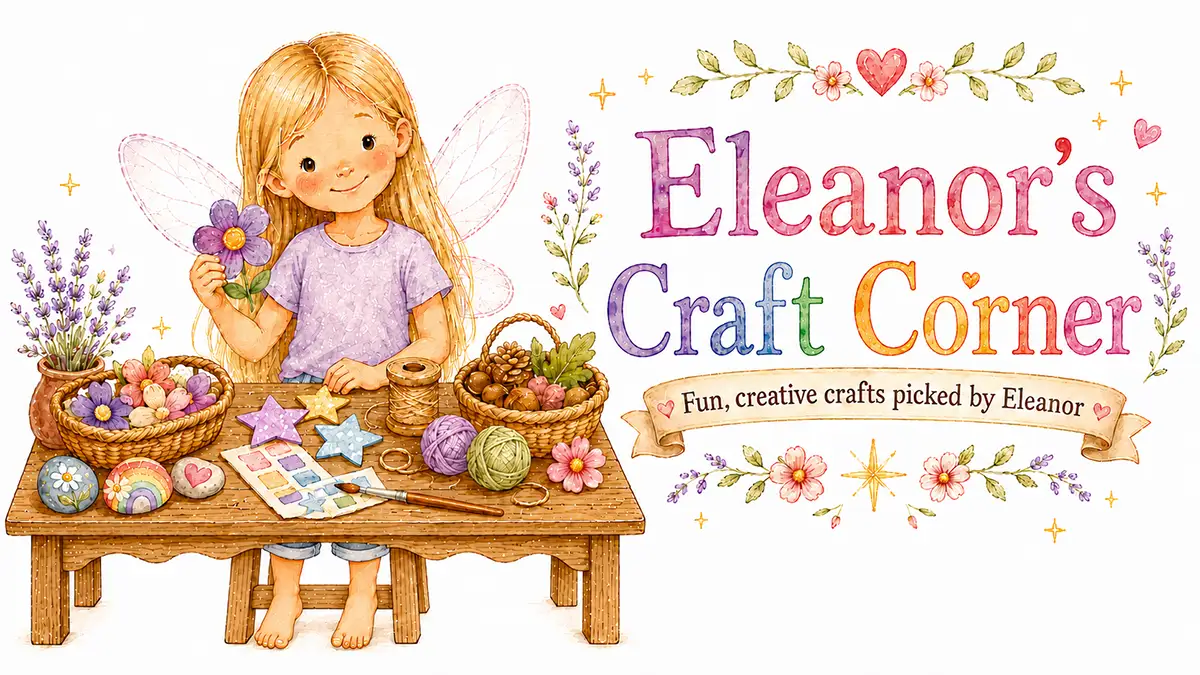
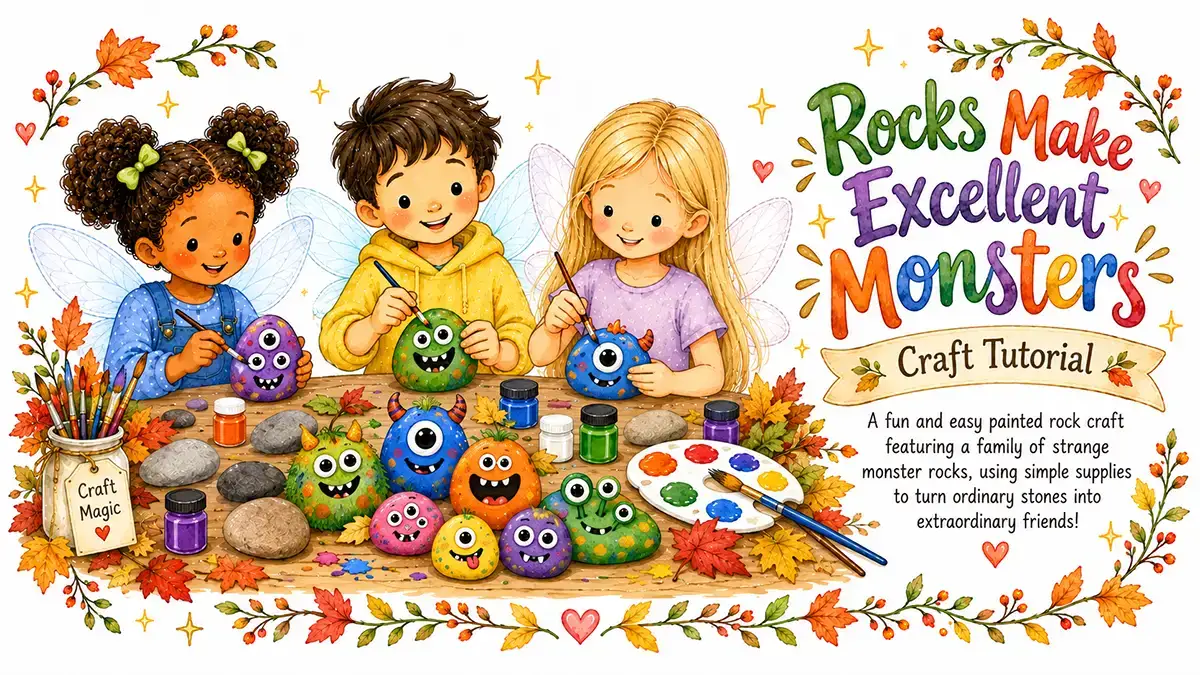
Painted rocks are one of those wonderfully simple crafts that begin before the paint even comes out. Children can search for smooth stones on a beach, by a riverbank, along a garden path, or tucked beside a flower bed. The hunt is part of the fun.
Once the rocks are gathered, they can become almost anything: tiny animals, beetles, garden markers, miniature landscapes, kindness stones, or little pocket-sized scenes for a windowsill.
Quick Details
Ages: 3+
Active Time: 20 minutes
Drying Time: 1–2 hours
Mess Level: Low to medium
Best For: Quiet afternoons, handmade gifts, nature walks
Why Kids Love It
Painting on rocks feels different from painting on paper. The surface is solid, cool, and a little uneven, which makes each stone feel like its own tiny object rather than just another craft sheet.
Children also love that the finished rocks have a real place to go. They can sit on a shelf, hide in the garden, decorate a windowsill, or be given to someone as a small handmade gift.
Supplies Needed
- Smooth rocks
- Acrylic paint or washable paint
- Paintbrushes
- Mod Podge or clear varnish
- Cup of water for rinsing brushes
- Paper towel or cloth
- Newspaper, cardboard, or a washable mat to protect the table
Before You Start
Wash the rocks first and let them dry completely. Paint sticks much better to clean, dry stones.
For younger children, choose larger rocks that are easy to hold. Small pebbles can be tricky for tiny hands.
If using Mod Podge or clear varnish, an adult should help with the sealing step, especially if the rocks will be placed outside.
Step-by-Step Instructions
1. Gather your rocks
Look for smooth stones with interesting shapes. Round stones make lovely ladybirds, bees, faces, moons, or flowers. Long stones can become fish, snakes, feathers, or little garden signs.
2. Wash and dry them
Rinse off dirt and dust, then let the rocks dry fully. This is a good time to set up the painting area.
3. Choose a simple idea
Children can paint whatever they like, but simple ideas work best at the start. Try bugs, rainbows, hearts, flowers, suns, tiny houses, animals, or colourful patterns.
For younger children, dots, stripes, and big colour blocks are perfect.
4. Paint the base colour
Paint one side of the rock and let it dry for a few minutes before adding details. If the colour looks too light, add a second coat.
5. Add the details
Use a smaller brush for eyes, wings, windows, spots, petals, or little lines. Older children may enjoy painting tiny landscapes, mushrooms, stars, or miniature scenes.
6. Let the rocks dry
Set the painted rocks somewhere safe and flat. Most will need 1–2 hours to dry, depending on the paint and how thickly it was applied.
7. Seal them, optional
If the rocks will be handled often or placed outside, brush on a thin coat of Mod Podge or clear varnish. Let it dry completely before touching.
Easy Rock Art Ideas
- Ladybirds with red backs and black spots
- Bees with yellow stripes
- Kindness stones with hearts or simple words
- Garden markers for herbs or flowers
- Tiny cottages with doors and windows
- Fish, turtles, frogs, or beetles
- Moon and star stones
- Colourful pattern rocks with dots, stripes, and swirls
Helpful Tips
Use a pencil to lightly sketch designs first if older children want more control.
Keep a few “practice rocks” nearby so children can test colours before painting their favourite stone.
For toddlers and preschoolers, skip the tiny details and let them enjoy the paint, texture, and colour mixing.
If the rocks are going outside, acrylic paint and a clear sealant will last longer than washable paint.
A Simple Way to Extend the Craft
Turn the finished rocks into a small story scene. Children can arrange them into a rock village, bug garden, ocean world, or fairy path. Add twigs, leaves, shells, moss, or small sticks to build a little world around them.
This turns a 20-minute painting activity into open-ended play that can last all afternoon.
Get the free Fairy Marketplace Craft Book
14 beautiful one-page craft tutorials, from nature weaving to cardboard box towns. Plus our favorite new craft ideas and free printables a few times a season.
No spam, ever. Unsubscribe any time.
Check your inbox! Your craft book is on the way. (Give it a few minutes, and peek in the spam folder just in case.)