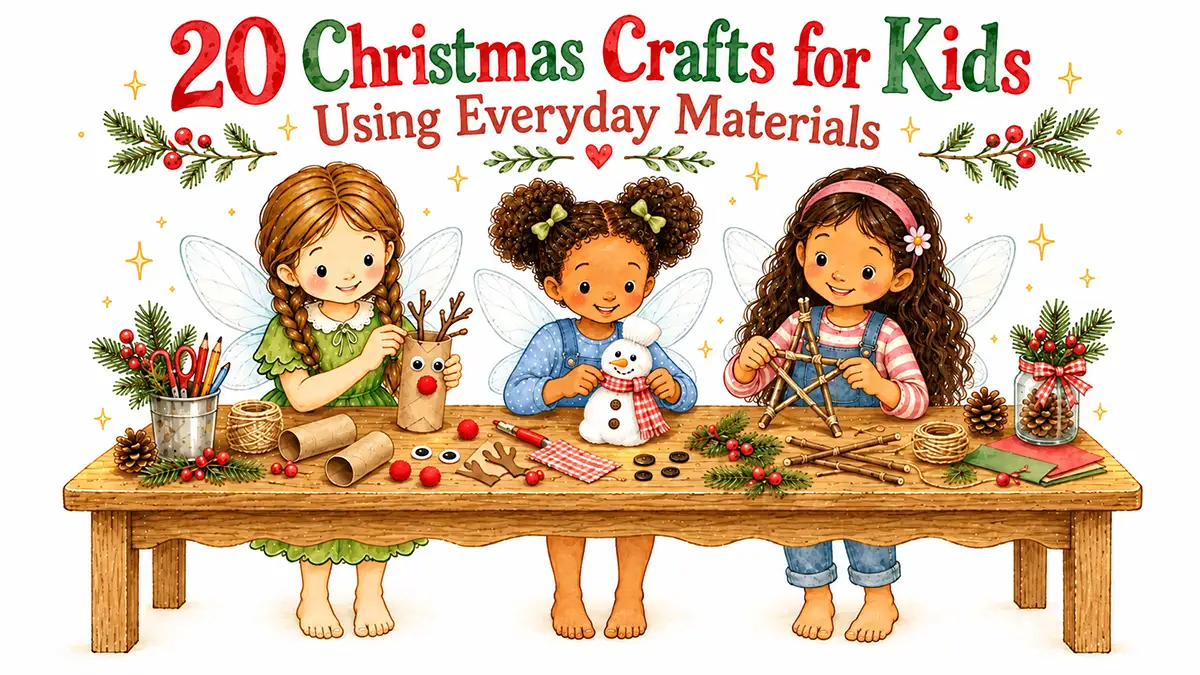
A cardboard tube becomes a reindeer. A sock from last winter becomes a snowman. Five sticks from a walk become the star your child wants to hang on the tree themselves. Christmas making can start with a small pile of ordinary things and room at the kitchen table.
These 20 Christmas crafts for kids use recycled packaging, nature finds, fabric scraps, and pantry ingredients. There are ornaments to give, houses to invent stories around, and wrapping paper with a very personal idea of where the stars should go. Let the kids choose the colors, name the characters, and work out what their little Christmas world needs next.
Start with one project that fits your day. You may already have many of the supplies; what you spend depends on what needs topping up. Check the list before you begin, and use scraps or colors you have when they will do the job.
Disclosure: Some links on this page are affiliate links. If you buy through them, Fairy Marketplace earns a small commission at no extra cost to you. As an Amazon Associate we earn from qualifying purchases.
Before you start
Active times are approximate and cover the making, including decorating. Extra time is for drying, baking, or cooling. Paint and glue drying times depend on the product and how thickly they are applied. Use the age suggestions as a starting point, with a grown-up nearby and help matched to your child’s experience.
Keep a shared kit of child-friendly scissors, paintbrushes, a water cup, and a table cover handy. Use clean, dry recycled materials and age-appropriate supplies. Small pieces and long strings need to stay out of reach of younger siblings.
1. Red-Nosed Reindeer Crew
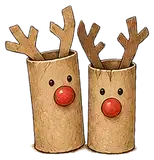
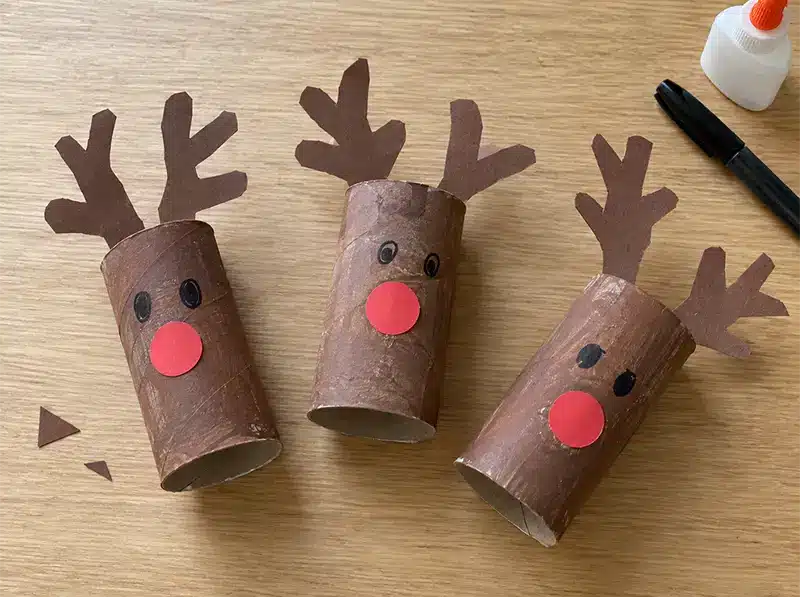
Save your paper towel and toilet paper tubes for a week and you have a whole herd. Brown paint, scrap paper antlers, and one proud red nose each. Once the paint is dry, glue on the paper pieces and draw the eyes. Line them up on the mantel and let the kids name every single one. The reindeer with the enormous antlers probably has a story.
- Ages: 3+
- Active time: about 30 min
- Extra time: paint and glue drying
- Materials: cardboard tubes, brown paint, scrap paper for antlers and noses, a marker, paper craft glue.
- Mess level: medium
- Adult help: pre-cut antlers and noses for younger children; help attach them.
2. Pocket Elves
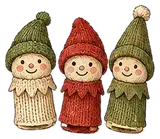
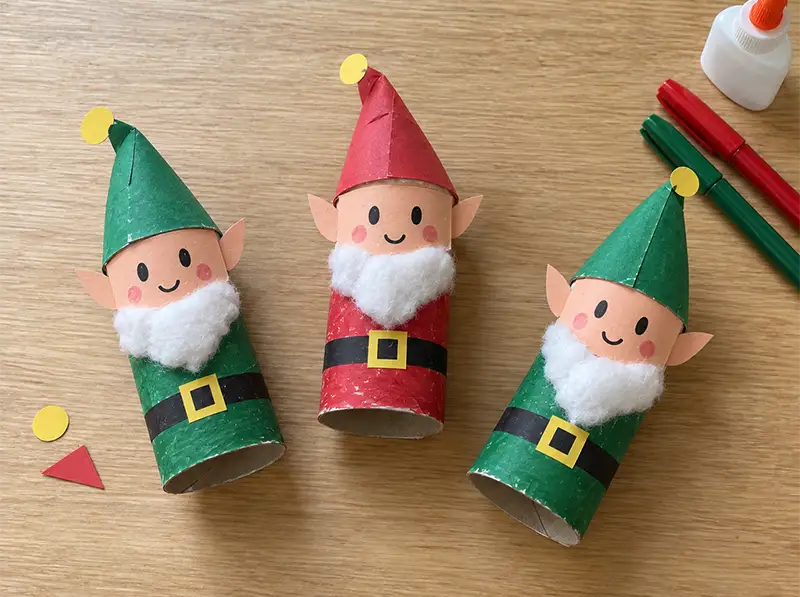
The other thing a tube wants to be in December. Markers for the suit, a cotton ball beard, and a paper cone hat, held together with glue. Let the kids decide who wears stripes and who needs the tallest hat. Small enough to hide around the house and blame things on.
- Ages: 4+
- Active time: about 20 min
- Extra time: glue drying
- Materials: cardboard tubes, markers, cotton balls, paper, paper craft glue.
- Mess level: low
- Adult help: cut and shape the cone hats; help younger children glue the pieces.
3. The Snowman That Never Melts
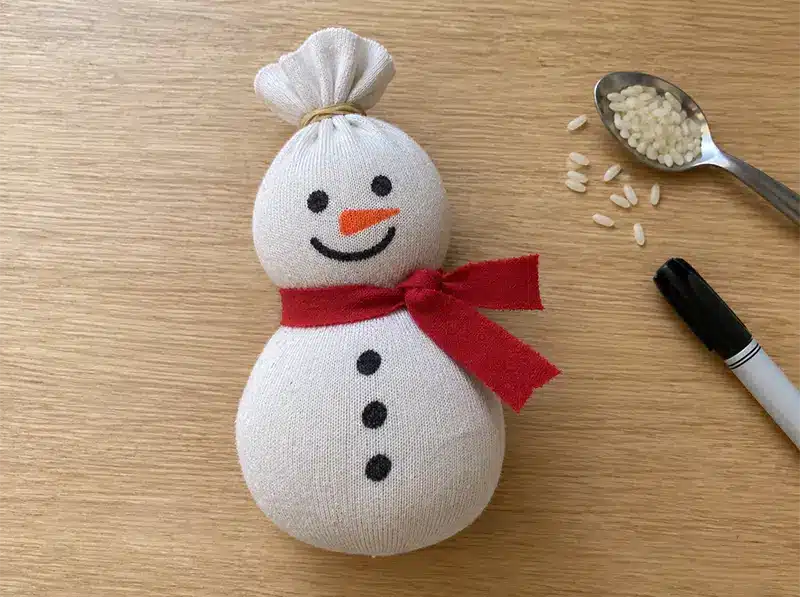
One clean, outgrown sock and some dry rice make a little shelf snowman. Fill the toe, secure the opening with a rubber band, then add another band below it to make a head and body. Draw a face and buttons with a fabric marker; tie on a scrap-fabric scarf. The too-small sock your kid wore last winter gets one more season.
- Ages: 4+
- Active time: about 20 min
- Extra time: marker drying, as directed on the label
- Materials: an outgrown sock, dry rice, rubber bands, a fabric marker, a fabric scrap, a spoon and small funnel for filling.
- Mess level: medium, rice travels
- Adult help: hold the sock while filling and secure the bands; this is a display decoration.
4. Lost-Glove Elf Puppets
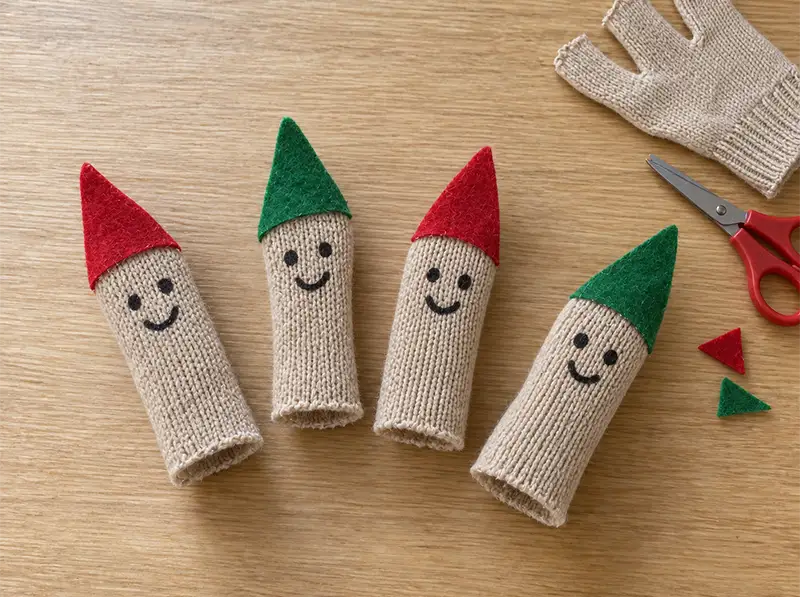
A glove missing its partner has a second career waiting. A grown-up cuts off the fingers, leaving the fingertip ends closed. Add marker faces and felt-scrap hats, then let the glue dry before slipping them onto fingers. Each elf gets a voice. The kitchen table gets a puppet show.
- Ages: 4+
- Active time: about 25 min
- Extra time: glue drying
- Materials: a clean orphan glove, fabric markers, felt or fabric scraps, fabric glue, fabric scissors for the grown-up.
- Mess level: low
- Adult help: cut the glove and hats, apply glue as needed, and check the fit before play.
5. Twig Stars
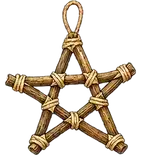
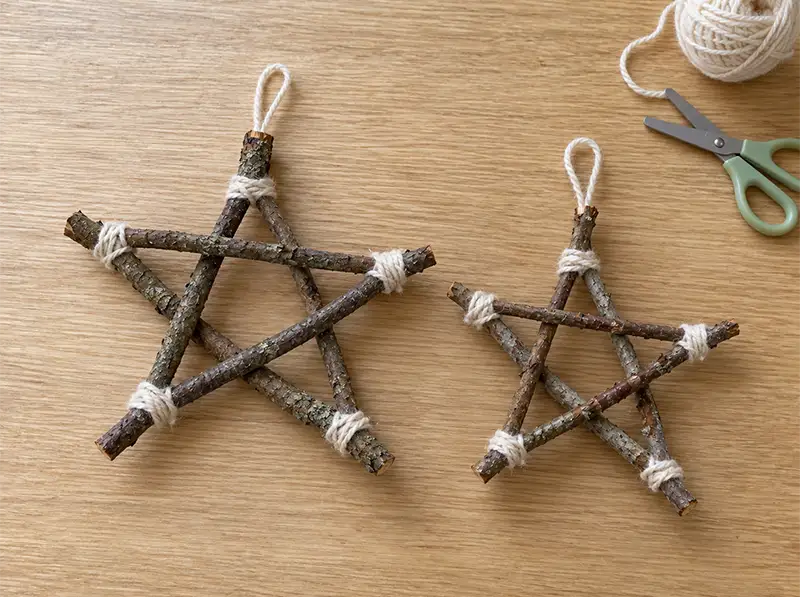
Find five straightish fallen sticks, give them a wipe, and let them dry. Arrange them into a five-pointed star with crossing lines, then wrap and tie yarn around the overlapping joints. A grown-up can hold the sticks while a child winds the yarn. Add a hanging loop and let the maker choose its place on the tree.
- Ages: 5+
- Active time: about 20-30 min
- Extra time: washed sticks need to dry first
- Materials: 5 smooth fallen sticks per star, yarn or twine.
- Mess level: low
- Adult help: check sticks for sharp ends, help arrange the star, and secure knots.
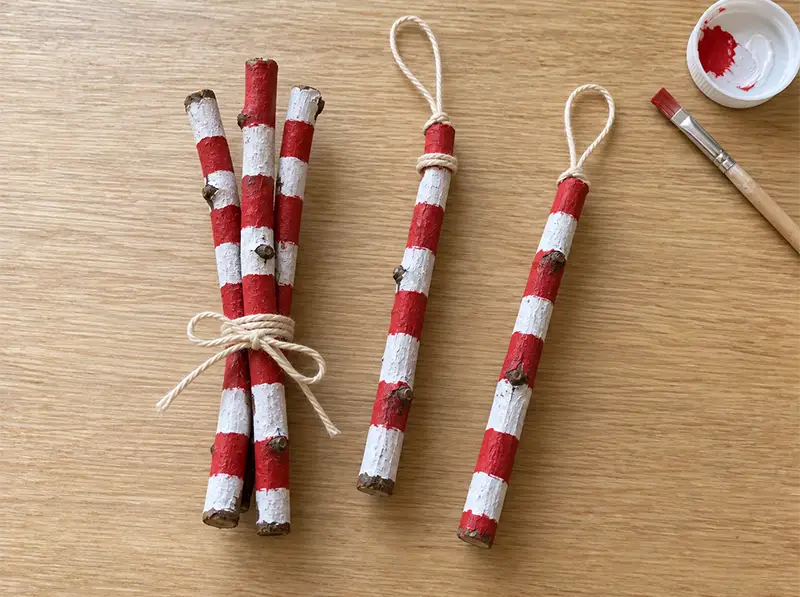
6. Candy-Cane Sticks
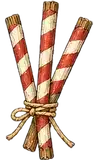
One stick, red and white stripes, and plenty of room to change the pattern halfway through. Let the paint dry, then bundle three with twine or tie a hanging loop around one end. Try wide stripes, tiny stripes, or a peppermint pattern that only its painter understands.
- Ages: 3+
- Active time: about 15 min
- Extra time: paint drying between colors and before tying
- Materials: clean, dry, smooth fallen sticks, red and white paint, twine.
- Mess level: medium
- Adult help: check the sticks and tie the bundles or hanging loops.
7. Pinecone Christmas Trees
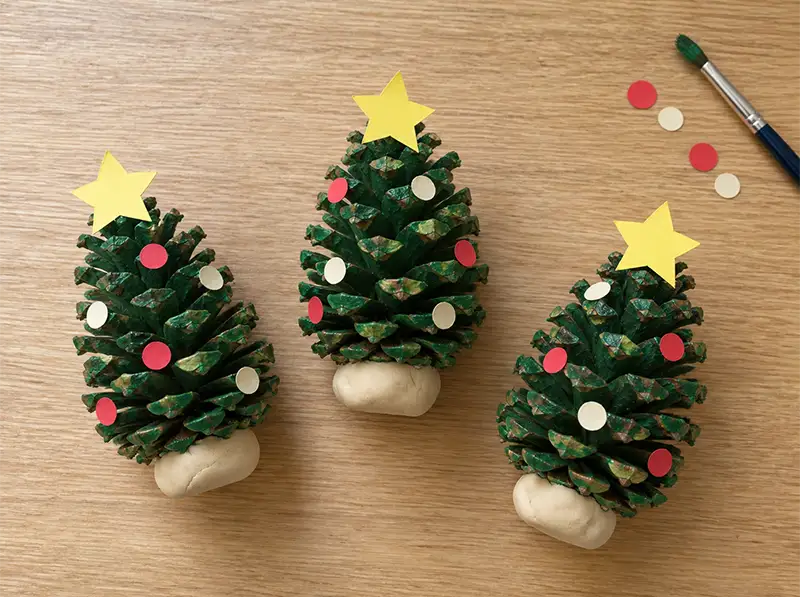
A pinecone is already tree shaped, which does some of the work for you. Paint a clean, dry cone green, let it dry, then glue a paper star on top and tiny paper decorations between the scales. If the tree wobbles, nest its base in a small lump of play dough. A few cones become a forest for the Pocket Elves.
- Ages: 3+
- Active time: about 25 min
- Extra time: paint and glue drying
- Materials: pinecones, green paint, scrap paper, paper craft glue, a little play dough for any wobbly bases.
- Mess level: medium
- Adult help: check cones for sharp points, cut small paper shapes, and help steady the trees.
8. Egg-Carton Fairy Bells
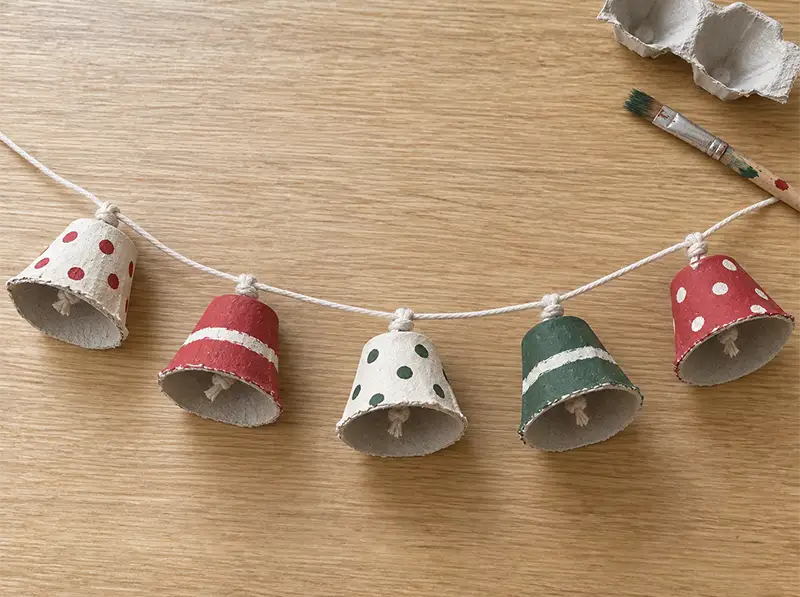
Cut the cups from a cardboard egg carton and turn them upside down into little bells. Paint spots, stripes, or tiny stars around the rims. Once dry, a grown-up makes a small hole in each top. Thread yarn through, tie a knot inside large enough to hold it, and tie the other end onto a longer string to make a garland. These are quiet bells. The elves can supply the noise.
- Ages: 6+
- Active time: about 40 min
- Extra time: paint drying
- Materials: a clean cardboard egg carton, paint, yarn or string, sturdy scissors and a pointed hole-making tool for the grown-up.
- Mess level: medium
- Adult help: separate the cups, make the holes, and secure the knots. Hang this garland on its own, away from electrical lights.
9. Paper-Bag Gingerbread House
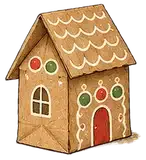
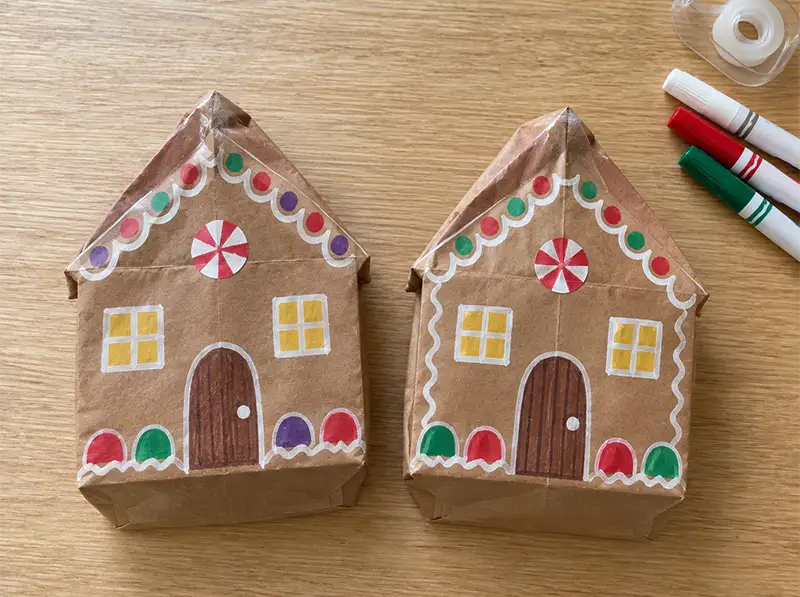
A paper lunch bag becomes a gingerbread house with marker icing, gumdrop windows, and a front door the kids design themselves. Decorate it flat, open the base, add some crumpled scrap paper to help it stand, then fold and tape the top into a roof. Leave room for a chimney. Someone will ask for seven.
- Ages: 3+
- Active time: about 25 min
- Extra time: none
- Materials: paper lunch bags, markers, scrap paper for filling, tape.
- Mess level: low
- Adult help: open the bag, fold the roof, and help with tape.
For more house-building ideas, try our Paper Bag Woodland House tutorial.
10. Christmas Village from the Cereal Shelf
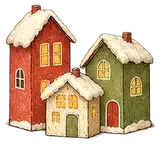
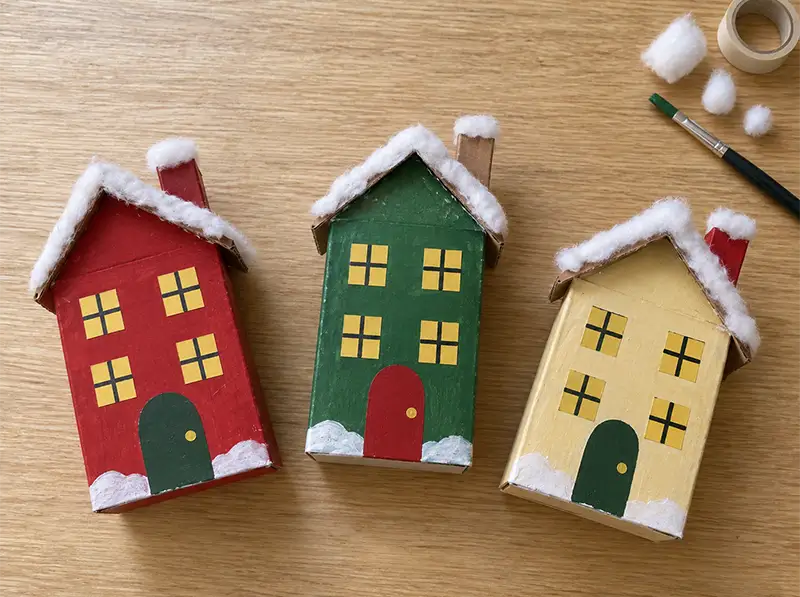
Empty cereal boxes become a row of snow-topped houses. Tape the flaps closed, paint doors and windows, then glue on folded scrap-card roofs and little cotton ball snowdrifts. Let the kids decide which building is the bakery and where the village needs a park. Add the Pocket Elves from craft 2 and it has a population.
- Ages: 5+
- Active time: about 45 min
- Extra time: paint and glue drying
- Materials: cereal boxes, scrap card for roofs, paint, cotton balls, tape, paper craft glue.
- Mess level: medium
- Adult help: cut and fold roofs, steady boxes, and help attach pieces.
11. The Giant Box Tree
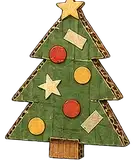
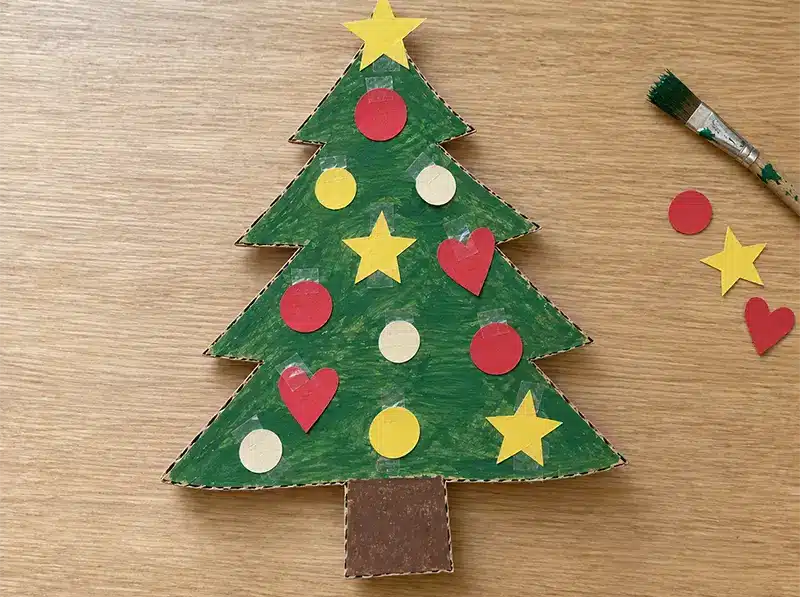
A grown-up cuts one large delivery-box panel into a flat Christmas tree, ready for painting. Once dry, secure it flat against a wall with suitable removable mounting tape. The kids make paper ornaments and tape them wherever they choose, then move them all again tomorrow. Their own tree, decorated at their own height.
- Ages: 3+
- Active time: about 45 min
- Extra time: paint drying
- Materials: a large cardboard box panel, green paint, scrap paper, paper tape for ornaments, wall-appropriate removable mounting tape, a cutting tool for the grown-up.
- Mess level: high, it is a lot of paint
- Adult help: do all heavy cardboard cutting and securely mount the finished tree.
12. Last Year’s Cards, This Year’s Garland
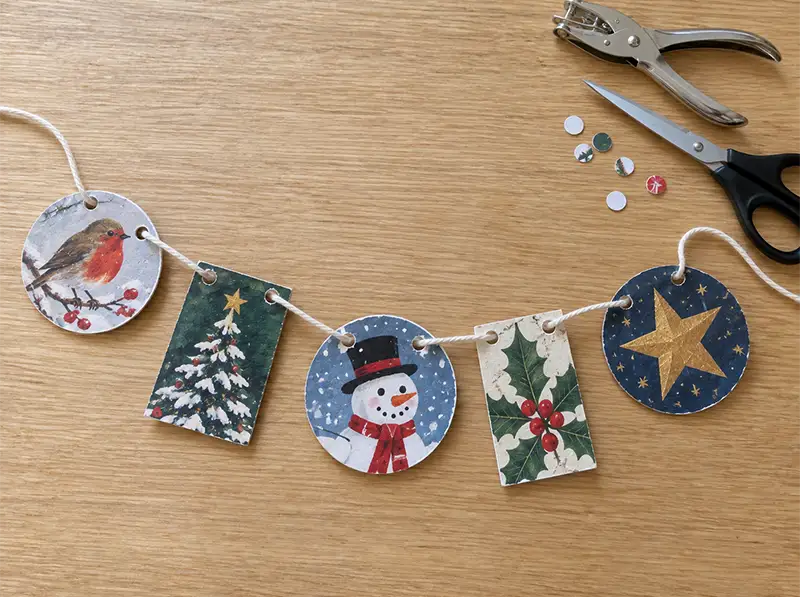
Bring out the holiday cards you saved and let the kids choose which pictures to keep. Cut the fronts into shapes, punch two holes near the top of each, and thread them onto string for a doorway garland. They can sort by color, alternate big and small shapes, or put every snowman together.
- Ages: 5+
- Active time: about 30 min
- Extra time: none
- Materials: old holiday cards, string, a hole punch, scissors.
- Mess level: low
- Adult help: cut thick cards or pre-cut shapes, help with the hole punch, and hang the garland.
13. Bottle-Cap Snowman Ornament
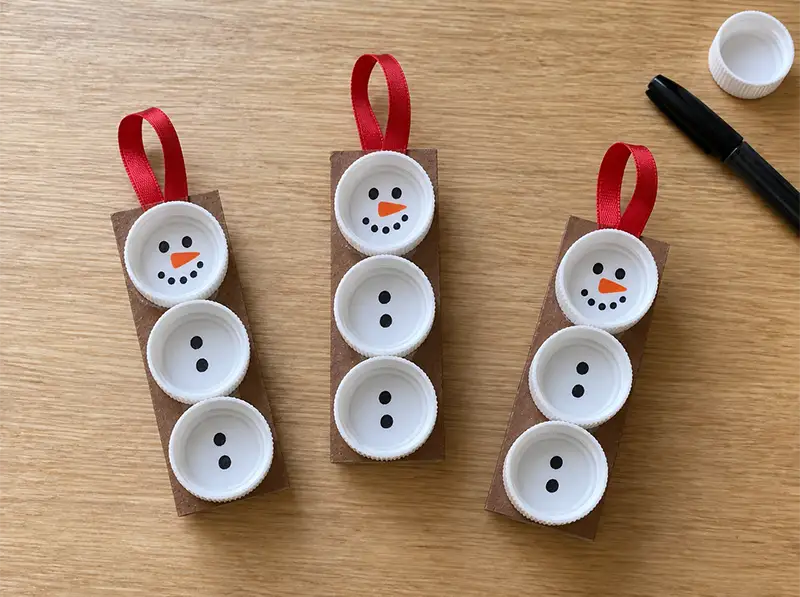
Three clean plastic bottle caps become a snowman on a strip of cereal-box card. Glue their flat outer tops to the card so the open sides face forward. Draw the face and buttons inside, then tape both ends of a ribbon loop firmly to the back of the card. Let the glue fully set before hanging. A lopsided grin suits him.
- Ages: 4+
- Active time: about 15 min
- Extra time: glue curing, following its label
- Materials: 3 clean plastic bottle caps, cereal-box card, ribbon, permanent markers, tape, craft glue labeled for plastic-to-card bonding.
- Mess level: low
- Adult help: cut the backing, handle permanent markers and adhesive as needed, and check the hanger and caps are secure.
14. Jar-Lid Peekaboo Ornaments
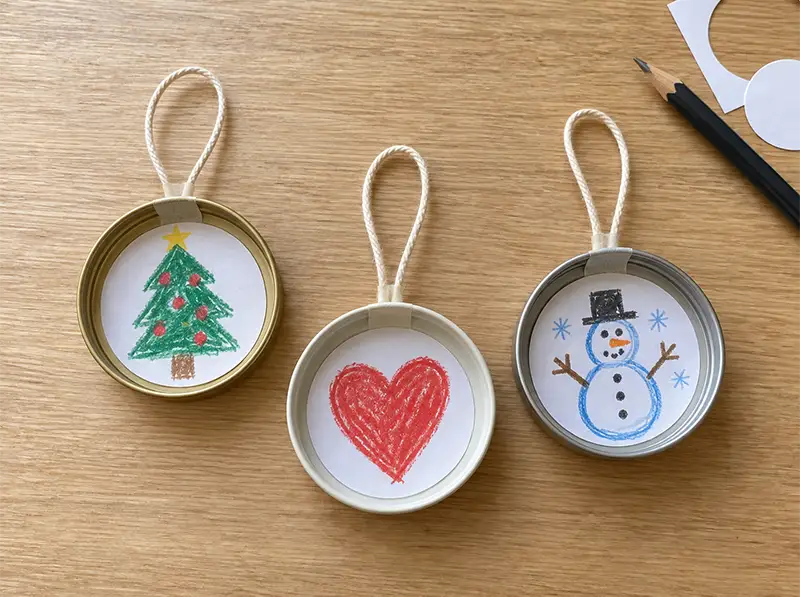
A smooth-edged, screw-on jar lid becomes a tiny frame. Trace and cut a photo or mini drawing to fit inside, then glue it in place. Tape both ends of a string loop securely to the back, with a larger card circle glued over the ends for a tidy finish. Let the kids choose the picture and who it is for.
- Ages: 5+
- Active time: about 20 min
- Extra time: glue curing, following its label
- Materials: clean screw-on jar lids with smooth rolled edges, photos or small drawings, card, a pencil, string, strong tape, craft glue suitable for paper and metal.
- Mess level: low
- Adult help: check lid edges, cut circles, attach the hanging loop, and check it holds once dry. No holes need to be made in the metal.

15. Salt-Dough Everything Ornaments
Flour, salt, and water become stars, handprints, and whatever shape your child thinks belongs on a Christmas tree. Use Good Food’s salt dough recipe for quantities and oven directions. Make hanging holes before baking, then cool completely before painting. Add the maker’s name and year to the back if they want to remember which Christmas produced the six-legged reindeer.
- Ages: 3+
- Active time: about 45-60 min across shaping and painting
- Extra time: about 3 hrs baking for small pieces, longer for thicker shapes, plus cooling and paint drying
- Materials: plain flour, table salt, water in the linked recipe’s quantities, a bowl, spoon, rolling pin, cookie cutters, a straw for hanging holes, lined baking tray, paint, ribbon or string.
- Mess level: high, flour happens
- Adult help: measure ingredients, manage the oven and hot tray, and tie hangers.
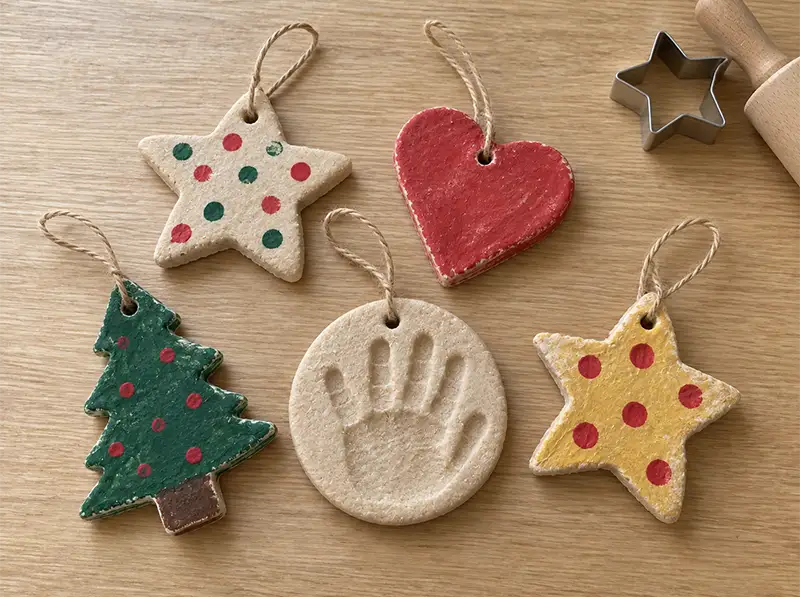
Salt dough is for decorating, not eating. Keep the dough and finished ornaments out of reach of pets.
16. Sunshine Orange Garland
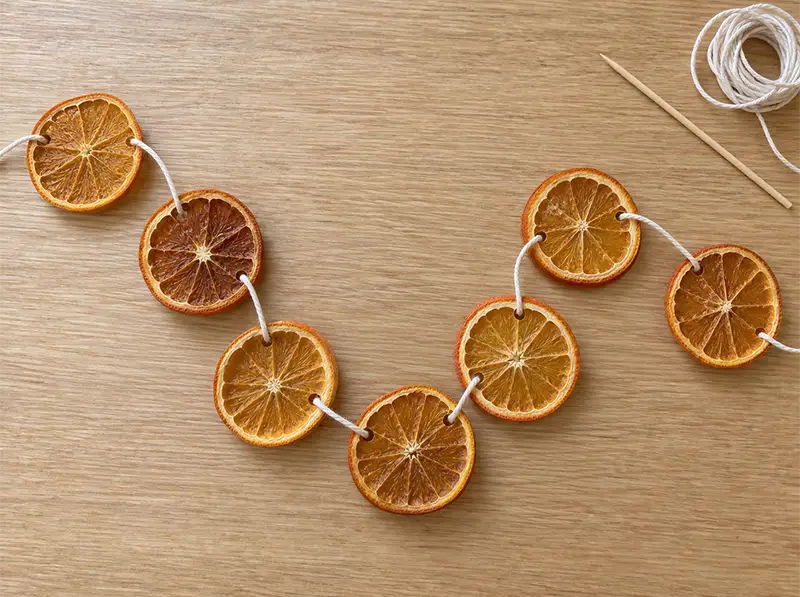
Thin orange slices, dried in a low oven, catch the daylight like little stained-glass windows. A grown-up handles slicing and drying; once the slices are fully dry and cool, kids can arrange their favorites along a piece of string. Help make two small holes near each rind and thread through them. Hang where the winter sun can find it.
- Ages: 5+
- Active time: about 20-30 min across preparation and threading
- Extra time: several hours of oven drying, depending on thickness and oven temperature, plus cooling
- Materials: 2 oranges, string, a knife and chopping board, a lined baking tray, an oven, a skewer for the grown-up to make threading holes.
- Mess level: low
- Adult help: slice oranges, manage the oven, check slices are fully dry, make holes, and help thread them.

17. Popcorn and Cranberry Garland
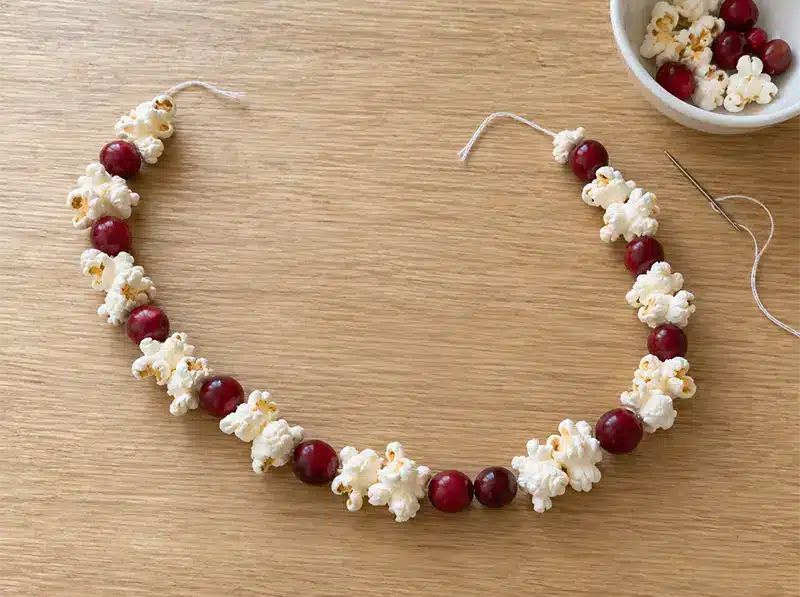
Set out plain popped corn and fresh cranberries, then let the kids invent a pattern: three white pieces and one red, or something much less predictable. A grown-up can pierce the cranberries first so children can use a blunt tapestry needle. Start with a short strand and add more if everyone is still enjoying it. The pattern may change halfway along. That is allowed.
- Ages: 6+
- Active time: about 20-30 min for a short strand
- Extra time: popcorn must cool before threading
- Materials: plain popped corn with unpopped kernels removed, fresh cranberries, a blunt tapestry needle, thread, a skewer for adult preparation.
- Mess level: low, with a few popcorn crumbs
- Adult help: prepare popcorn, pre-pierce cranberries, supervise needle use, and secure the ends. Keep the finished decoration away from pets and young children.
18. Blizzard in the Window
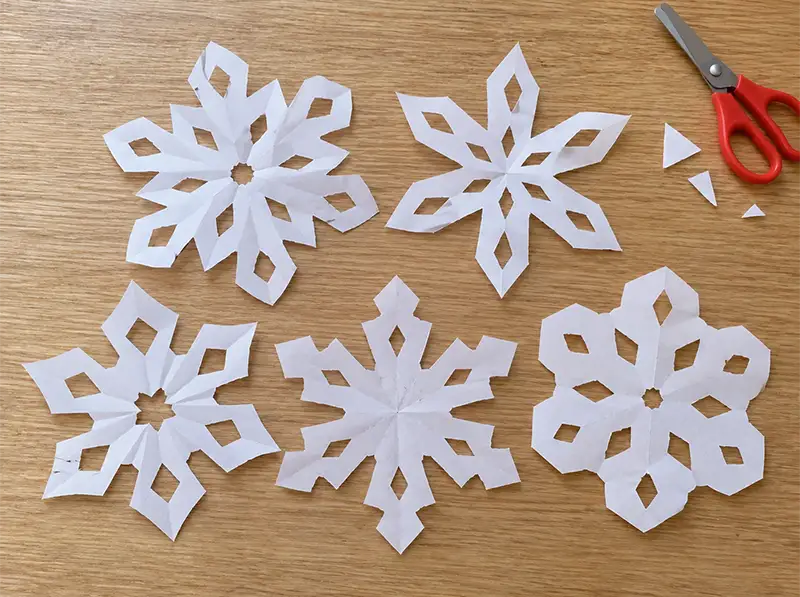
Fold scrap paper and snip little shapes from the edges, keeping enough of the fold intact to hold it together. Open it slowly to see what happened. Each snowflake is a small surprise, especially when the child who made it was aiming for something else. Tape a few to a window and compare the patterns in the light.
- Ages: 4+
- Active time: about 20 min
- Extra time: none
- Materials: scrap paper, child-friendly scissors, removable tape.
- Mess level: low, sweep the snips
- Adult help: fold paper and guide cutting; use fewer folds for younger children and place snowflakes within easy reach.
19. Stamp-It-Yourself Wrapping Paper
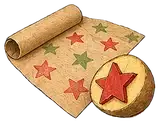
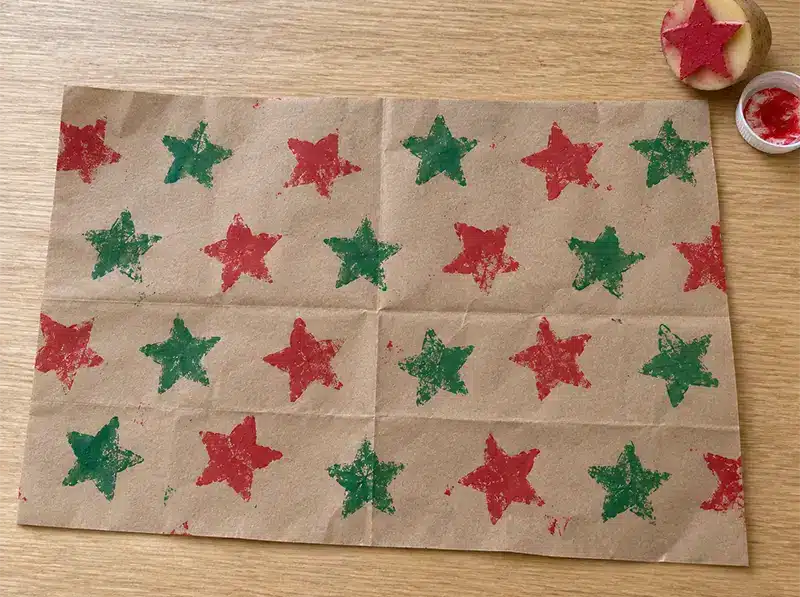
Cut open paper grocery bags and spread them flat. A grown-up carves a simple raised star into half a potato, then the kids dab it lightly in paint and stamp their own wrapping paper. Try a repeating pattern, a trail of stars, or one enormous patch of color. Let it dry before wrapping a gift for someone they choose.
- Ages: 3+
- Active time: about 30 min
- Extra time: paint drying before wrapping
- Materials: paper grocery bags, a potato, washable paint, a shallow paint plate, a knife and chopping board for the grown-up.
- Mess level: high, cover the table
- Adult help: cut open bags, do all potato cutting and carving, and demonstrate a light paint coating.
20. Puzzle-Piece Wreath Ornament
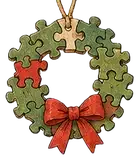
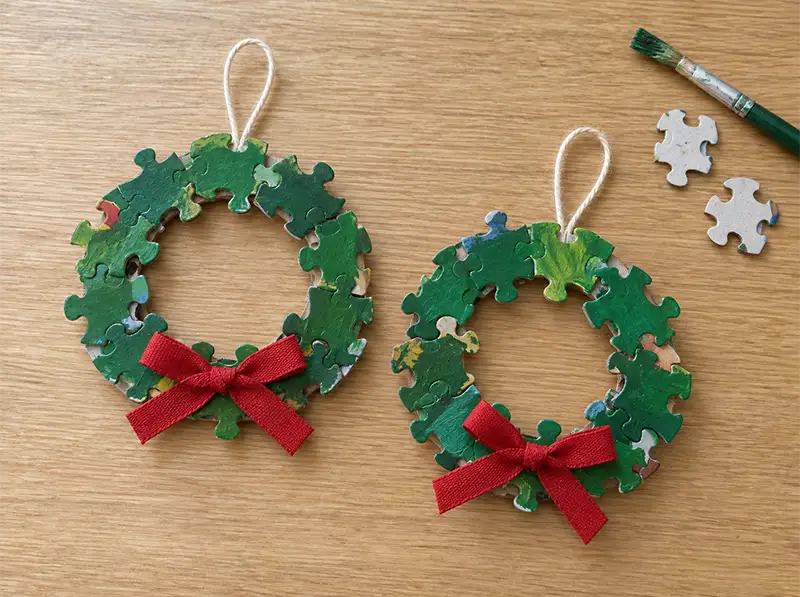
That puzzle missing three pieces has been waiting for this. Cut a ring from a cereal box, paint the ring and puzzle pieces green, and let them dry. Glue the pieces around the ring in a pattern the kids choose. Add a ribbon bow and tape a hanging loop to the back. Put the maker’s name on the card before it joins the tree.
- Ages: 5+
- Active time: about 25 min
- Extra time: paint and glue drying
- Materials: old cardboard puzzle pieces, cereal-box card, green paint, paper craft glue, ribbon scraps for a bow and hanging loop, tape, a marker.
- Mess level: medium
- Adult help: cut the card ring, help tie the bow, and secure the hanger.
Start With One Christmas Craft
Choose one project, gather its supplies, and let your child decide what happens with the colors, faces, and finishing touches. One reindeer with a name and a story can be plenty for an afternoon. Leave it somewhere they can point to it and tell you how they made it.
For another day, browse our seasonal craft ideas and head to the Winter Crafts section for more indoor making and handmade gifts. You can also get the free Fairy Marketplace Craft Book, with 14 one-page tutorials, on the Fairy Marketplace homepage.
Get the free Fairy Marketplace Craft Book
14 beautiful one-page craft tutorials, from nature weaving to cardboard box towns. Plus our favorite new craft ideas and free printables a few times a season.
No spam, ever. Unsubscribe any time.
Check your inbox! Your craft book is on the way. (Give it a few minutes, and peek in the spam folder just in case.)