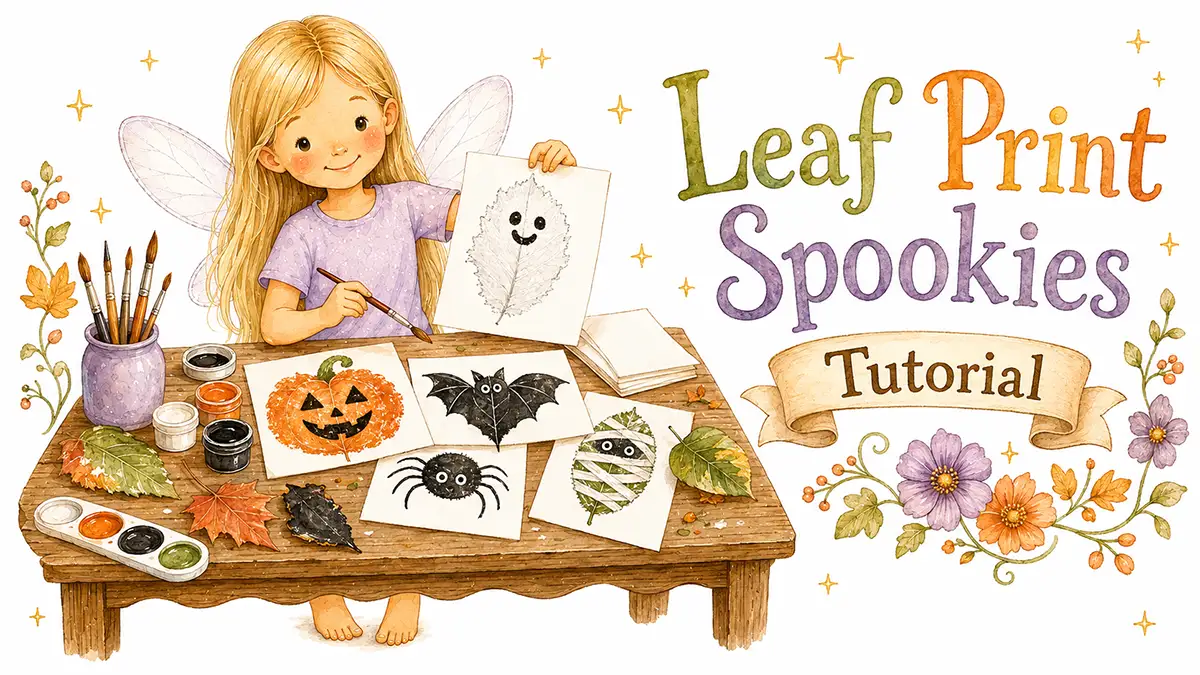
Leaf Print Spookies is a fall painting craft for kids ages 3 and up. Paint a leaf, press it onto cardstock, and the leaf’s shape does the costume work: ghosts, jack-o’-lanterns, bats, spiders, and a fun well-wrapped mummy.
Every October the trees do something generous: they drop free craft supplies all over the yard. Here’s what most people miss about a leaf, though. Flip it around and it’s already wearing a costume.
Point down, a leaf is a ghost with a trailing tail. Stem up, it’s a pumpkin that grew its own stem. Painted black, it’s a bat, or a spider, or whatever else is rustling around out there in the dark. The shape does half the work. Your kids do the fun half: the faces.
Quick Details
Ages: 3+ can print with a grown-up on paint duty, 5+ can run the whole show
Active time: 30-45 minutes
Extra time: Paint drying
Materials: Leaves, paint, cardstock, markers, glue stick
Mess level: Medium (it’s paint; cover the table and break out the paint shirts)
Best for: After leaf-raking afternoons, October decorating, mixed-age crews
Main skills: Painting, printing, face design, cutting for the garland
Adult help needed: Paint management for little ones, cutting out characters
Why Kids Like This Craft
Printing is the good kind of suspense: paint the leaf, press, peel, and see what appeared. Even the grown-ups peel slowly.
And a three year old can smash a painted leaf onto paper like a professional, while the big kids art-direct faces and build garlands. Everybody gets a job at exactly their level.
What Kids Will Make
A windowsill’s worth of Spookies, which is the correct name for a crowd of leaf ghosts, jack-o’-lanterns, bats, spiders, and one mummy.
The prints can end as a framed night-sky scene, a cut-out garland, or Halloween cards for the grandparents. Fair warning: nobody makes just one.
Supplies Needed
You’ll need:
- A pile of medium and large leaves, the flatter the better (fresh or freshly fallen; crunchy ones crack under the brush)
- Paint in white, orange, green, and black (washable tempera for young crews, acrylic for bolder prints)
- Paintbrushes
- Cardstock in two moods: black or navy for the night-sky Spookies, cream or white for everyone else
- A black marker for faces, plus a white gel pen or white paint pen for faces on the dark prints
- Glue stick and paper scraps for eyes, teeth, and mummy wrappings (googly eyes welcome if your house has a stash)
- Scrap paper to paint on
Optional extras:
- String or yarn, if the Spookies are destined to become a garland
- A frame, if the night-sky scene earns mantel status
Picking the Right Leaves
The shape of the leaf decides the character, so the leaf hunt is really casting. Long pointed leaves make the best ghosts. Round ones make pumpkins and spiders. Lobed leaves (maple types) make excellent bats, and long ovals are born mummies.
Flat and slightly fresh beats crunchy every time; crunchy leaves crack under the brush. Flatten wavy ones under a heavy book while you set up.
Before You Start
Cover the table, deploy the paint shirts, and set out a sheet of scrap paper for test prints; the first print of a freshly painted leaf is always the juiciest.
Send the kids out hunting with the cast list: ghosts, pumpkins, bats, spiders, mummies. Collecting the characters is the secret first craft.
Parent Setup Notes
For ages 3-5:
- You paint the leaf, they press and peel. Pressing is the star job anyway.
- Googly eyes or paper-scrap faces are easier than marker for small hands.
For ages 6-8:
- They can run painting and printing solo and draw the faces themselves.
- Help with cutting characters out for the garland.
For ages 9-12:
- Hand them the night-sky scene or the garland as a design project: layout, moon placement, cast list, the works.
Step-by-Step Instructions
Step 1: Collect the Cast
Gather medium and large leaves in the shapes your cast needs: pointed for ghosts, round for pumpkins and spiders, lobed for bats, long ovals for mummies.
Step 2: Paint the Leaf, Not the Paper
Lay a leaf on scrap paper, bumpy vein side up, and paint it edge to edge with no gaps. The underside veins print the strongest, and those printed veins are the whole look. Think of them as costume seams.
Step 3: Press and Peel
Flip the leaf paint-side down onto the cardstock, press it flat with your whole hand (press, don’t wiggle), then peel it up by the stem.
One leaf usually has two or three prints in it before it needs repainting.
Step 4: Print the Whole Crew
White paint on dark paper, tip pointing down: ghosts. Orange on cream, stem pointing up: pumpkins, stem included. Green: mummies (the wrapping comes later). Black: bats and spiders. Repeat until the paper looks pleasantly haunted.
Step 5: Let Everything Dry
Completely. This is the snack-break step, and skipping it is how ghosts get smudged tails.
Meet the Spookies
The Ghost
Two dots and a small round mouth in black marker, set close together and high on the print. That’s it. Patchy paint is a bonus here; a slightly see-through ghost is simply doing its job.
The Jack-o’-Lantern
Triangle eyes and a zigzag grin in black marker. The leaf’s own stem already printed at the top, so the pumpkin arrived with its stem attached. A curl of green marker vine finishes it.
The Mummy
Glue thin strips of white paper across a green print at lazy angles, leaving one gap near the top. Two eyes peek out of the gap, slightly alarmed. Crooked strips are wonderful. Mummies wrap themselves in a hurry.
The Bat
A lobed leaf printed sideways in black reads as wings all on its own. Add paper ears, then white gel pen eyes and two tiny fangs.
The Spider
One round black print, eight marker legs, and as many white gel pen eyes as your child feels is right. Real spiders have eight. Theirs may have forty.
If Kids Get Stuck
If the print comes out blobby, there’s too much paint on the leaf, or somebody wiggled. Press straight down and hold.
If the print is too faint, repaint the edges of the leaf; edges fade first.
If a leaf tears, it had a good run. The yard is full of understudies.
Helpful Tips
Print a full page of one character before switching colors; brush rinsing is where little-kid attention goes to die.
Save the best print of the day for the night-sky scene and let the rest become the garland.
Make It Easier
Cast only two characters, the ghost and the pumpkin. Two shapes, two paint colors, all the payoff.
Make It More Detailed
The candy corn trick: paint one leaf in three stripes before pressing, white at the tip, orange in the middle, yellow at the base. One press, instant candy corn.
The night-sky scene: black cardstock, white ghosts, a white gel pen moon and stars. Frame it and the October mantel is handled.
The Spookie parade: once dry, cut the characters out and glue them along a length of yarn for a garland. Doorway, mantel, bunk bed rail.
Gift or Display Ideas
The finished Spookies can be:
- Lined up along a windowsill
- Framed as a night-sky scene for the mantel
- Strung into a garland for a doorway or bunk bed rail
- Pressed onto folded cardstock as Halloween cards for the grandparents
Safety Notes
Washable tempera for young crews; acrylic prints bolder but keeps every shirt it touches.
Wash hands after handling leaves, and skip anything from a sprayed lawn or roadside.
Clean-Up
Medium mess, all of it paint. The table cover catches most of it, brushes rinse while the prints dry, and painted leaves go back outside to compost.
Finished Craft
When finished, kids will have a whole printed cast: ghosts with trailing tails, pumpkins that grew their own stems, bats, spiders, and one hastily wrapped mummy, ready for the windowsill, the garland, or the mantel.
And since the trees restock the supplies every October, this one comes back next year with a brand new cast.
Get the free Fairy Marketplace Craft Book
14 beautiful one-page craft tutorials, from nature weaving to cardboard box towns. Plus our favorite new craft ideas and free printables a few times a season.
No spam, ever. Unsubscribe any time.
Check your inbox! Your craft book is on the way. (Give it a few minutes, and peek in the spam folder just in case.)