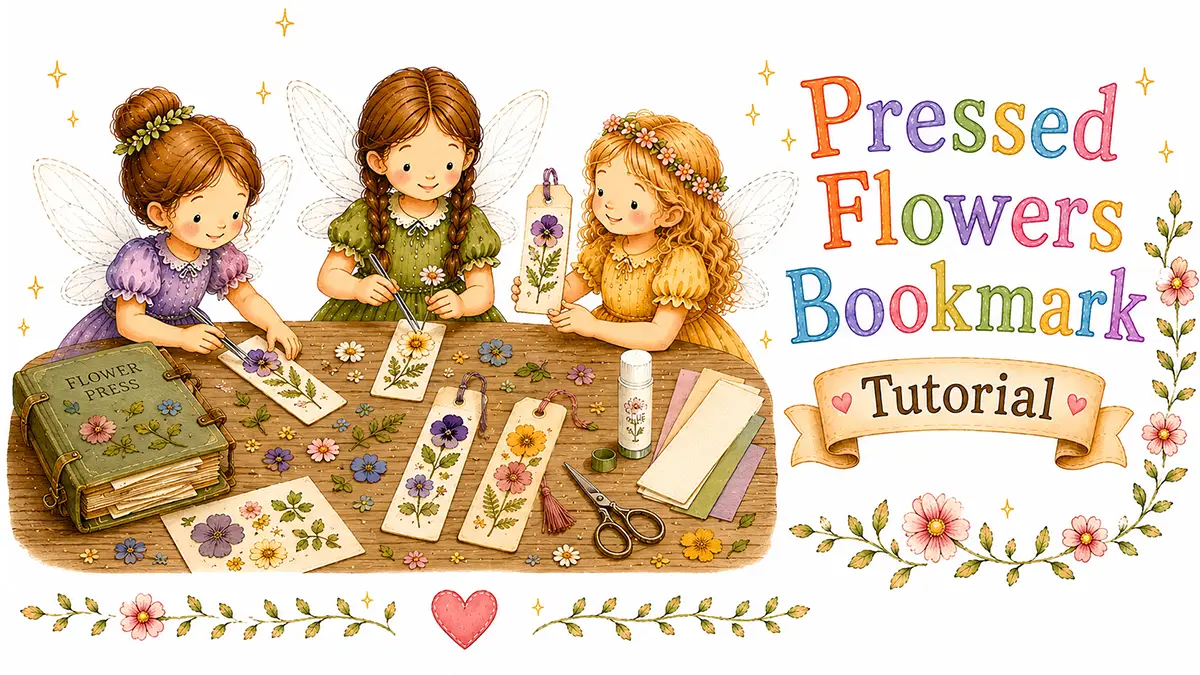
A simple nature craft for kids that turns tiny flowers, leaves, and bits of garden color into a keepsake bookmark. This one is calm, low-mess, and easy to set up with supplies you probably already have at home.
Disclosure: Some links on this page are affiliate links. If you buy through them, Fairy Marketplace earns a small commission at no extra cost to you. As an Amazon Associate we earn from qualifying purchases.
Ages: 5+
Active time: 20 minutes
Drying/pressing time: About 1 week
Materials: Natural finds, paper, glue
Mess level: Low
Best for: Quiet afternoons, nature walks, handmade gifts, rainy-day craft tables
Why Kids Will Love This Craft
Pressed-flower bookmarks feel a little special because kids get to make something beautiful from flowers they picked themselves. The process is simple, but the finished bookmark looks thoughtful and giftable.
It also slows things down in a good way. Kids collect, arrange, press, wait, and finish the project later. That waiting part can be useful. It teaches patience without feeling like a lecture.
These bookmarks are great for Mother’s Day, teacher gifts, summer reading, handmade birthday cards, or just keeping a little piece of the garden tucked inside a favorite book.
What You’ll Make
Kids will make a cardstock bookmark decorated with pressed flowers and leaves. The finished piece can be kept as-is, laminated, covered with clear contact paper, or tied with yarn or ribbon.
The simplest version is cardstock, pressed flowers, and glue. The sturdier version adds clear contact paper or lamination so the bookmark lasts longer.
Supplies
You’ll need:
Cardstock or thick paper
Small flowers and leaves
A heavy book
Plain paper or parchment paper
Glue stick or white craft glue
Scissors
Hole punch, optional
Yarn, ribbon, or string, optional
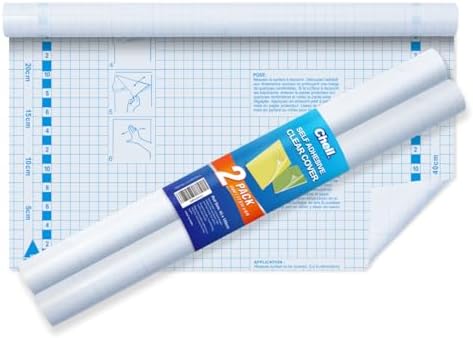
Clear contact paper or laminating sheets, optional
Good flower choices include tiny daisies, violas, pansies, clover flowers, lavender sprigs, small fern leaves, soft herbs, and flat petals.
Avoid thick, flowers like roses, large marigolds, or bulky flower heads. They take longer to dry and may mold instead of pressing neatly.
Short on time? These quick supply links can help you gather what you need.
Before You Start
Pick flowers that are dry, not wet from rain or sprinklers. Wet flowers can leave stains or get moldy while pressing.
For younger kids, help choose small, flat flowers. Big flowers are tempting, but they usually do not press as nicely. Tiny pieces often look better on a bookmark anyway, like little confetti from the garden.
Also, remind kids to only pick flowers they are allowed to use. A quick backyard walk, a park visit, or even a few petals from a grocery-store bouquet can work.
Step 1: Collect Small Flowers and Leaves
Take a short walk outside and look for small flowers, petals, and interesting leaves.
Choose pieces that are fairly flat already. Small leaves, single petals, and thin flowers work best.
Place the flowers gently in a small bowl, envelope, or folded piece of paper so they do not get crushed before you press them.
Step 2: Press the Flowers
Open a heavy book near the middle. Place a sheet of plain paper or parchment paper on the page.
Lay the flowers flat on the paper. Keep them from touching each other so they do not stick together.
Place another sheet of paper on top, then close the book carefully.
Stack a few more books on top for extra weight. Leave the flowers alone for about one week.
Step 3: Cut the Bookmark Shape
Once the flowers are fully dry and flat, cut a bookmark from cardstock.
A good size is about 2 inches wide by 6 inches tall, but it does not need to be perfect.
You can use white cardstock for a clean look, kraft paper for a natural look, or colored cardstock for something brighter.
For younger kids, pre-cut the bookmark shapes before starting. It makes the craft smoother and avoids the “my rectangle looks weird” spiral.
Step 4: Arrange the Pressed Flowers
Before gluing, let kids arrange their flowers on the bookmark.
They can make:
A row of tiny flowers
A scattered garden pattern
One flower near the top with leaves below
A border around the edges
A simple flower “bouquet” shape
Encourage them to move the pieces around until they like the layout. Pressed flowers are delicate, so use gentle fingers.
Step 5: Glue the Flowers Down
Use a tiny amount of glue on the back of each flower or leaf.
A glue stick is easier for kids, but white craft glue can work if you use a very small amount. Too much glue can wrinkle the paper or make the flowers look wet.
Press each flower gently onto the cardstock.
Let the bookmark dry flat.
Step 6: Trim and Finish
Once the glue is dry, trim any petals or leaves that hang over the edge.
To make the bookmark last longer, cover it with clear contact paper or laminate it.
For a simple contact paper finish, place the bookmark face-up on a piece of clear contact paper. Add another piece on top, smooth it down, then trim around the edges.
Leave a small sealed border around the bookmark so the flowers stay protected.
Step 7: Add a String or Ribbon
This step is optional, but it makes the bookmark feel more finished.
Punch a hole near the top of the bookmark. Thread a piece of yarn, ribbon, or string through the hole and tie it.
For a natural look, use cotton string or soft yarn. For a brighter kid-made look, use colorful ribbon or embroidery floss.
Helpful Tips
Use small flowers. They press faster, dry better, and fit nicely on a bookmark.
Let the flowers dry completely before gluing. If they still feel soft or damp, give them a few more days.
Use very little glue. Pressed flowers are thin and do not need much.
Make extras. Some flowers may tear, and kids usually like having choices when arranging their design.
Keep the layout simple. A few well-placed flowers often look better than a crowded bookmark.
Make It Easier
For younger kids, press the flowers ahead of time and let them do the arranging and gluing.
You can also pre-cut the bookmarks, put the flowers in a shallow tray, and give each child one bookmark at a time.
This keeps the project calm and prevents the table from turning into a tiny flower storm.
Make It More Creative
Older kids can write a name, quote, or tiny message on the bookmark before adding flowers.
They can also create themed bookmarks, such as:
A yellow and white flower bookmark
A fern and leaf bookmark
A rainbow petal bookmark
A bookmark for a teacher
A bookmark to go with a favorite story
For a gift, tuck the bookmark inside a book or tie it to a wrapped present.
Safety Notes
For ages 5+, adult help may be needed with scissors, hole punches, or contact paper.
Make sure children only collect safe, non-toxic flowers and leaves. Avoid unknown plants, mushrooms, berries, and anything from areas sprayed with pesticides.
Do not use flowers from roadsides or treated lawns.
Clean-Up
This is a low-mess craft. Most cleanup is just paper scraps, a little dried glue, and leftover flower bits.
Save extra pressed flowers in an envelope for another project. They can be used for cards, gift tags, nature journals, or more bookmarks.
Finished Craft
When finished, kids will have a handmade pressed-flower bookmark that feels personal and useful. It is pretty enough to give as a gift, simple enough for a quiet afternoon, and practical enough to use again and again.
A tiny flower, a strip of paper, and a week of waiting. That is the whole charm.