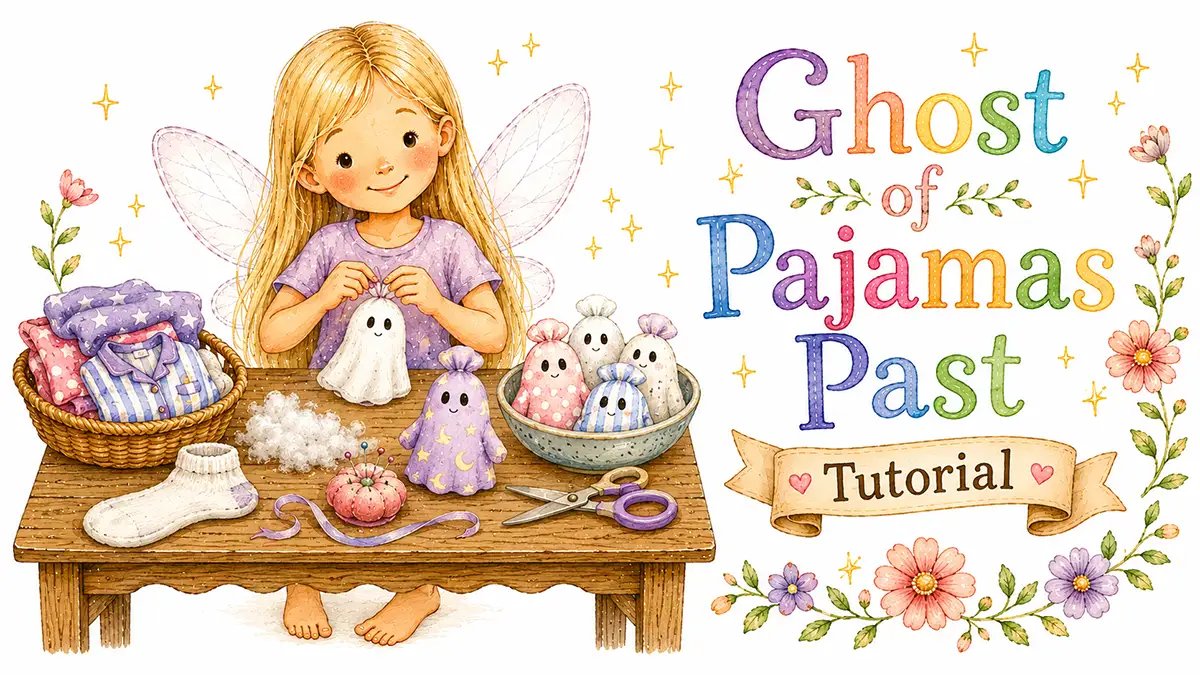
The Ghost of Pajamas Past is a plushie craft for kids ages 3 and up: outgrown socks and too-small favorite clothes become soft, huggable ghosts. The sock version needs no sewing at all, and the pajama version comes out wearing the exact jammies your kid refused to take off all last winter.
Kids outgrow clothes at supernatural speed. Somewhere in your house is a bag of too-small favorites you can’t quite donate: the dinosaur pajamas, the lucky socks, the shirt with the rocket on it. You can’t use them and you can’t let them go, because they aren’t really clothes anymore; they’re evidence of a kid who was smaller five minutes ago.
Here’s the secret: every outgrown favorite has a ghost in it. This craft lets it out, and the ghost arrives already dressed.
Quick Details
Ages: 3+ for the sock ghost, 7+ to sew the pajama ghost
Active time: 5 minutes per sock ghost, about an hour for the sewn one
Extra time: None
Materials: Outgrown socks, a too-small favorite shirt or pajamas, stuffing, yarn
Mess level: Low
Best for: October decorating, growth-spurt weeks, quiet afternoons, keepsake making
Main skills: Stuffing, tying, running stitch, face design
Adult help needed: Cutting, knots, and the sewing for younger kids
Why Kids Like This Craft
The ghost is wearing their clothes. That single fact carries the whole afternoon: it’s their sock, their rocket shirt, their ghost. Expect it to be introduced to everyone who visits.
The sock version also delivers the fastest win in all of ghost-making: stuff, tie, face, done. A three year old can produce a full haunting before snack time.
What Kids Will Make
Two kinds of ghost, from two kinds of outgrown. The five-minute sock ghost: a stuffed head, a trailing sock-tail, and a face. And the sewn pajama ghost: about 10 inches tall, cut straight from a favorite too-small shirt or pajamas, with a little name tag on its chest that says whose clothes it’s wearing and the year they wore them.
Make one, or make one per growth spurt. A whole flock hung side by side is a growth chart made of ghosts.
Supplies Needed
You’ll need:
- Outgrown socks (white is classic, stripes are fashion, holes are fine; ghosts don’t mind)
- A too-small favorite shirt, pajama top, or onesie for the sewn ghost
- Polyester stuffing (a couple of big handfuls)
- Yarn or rubber bands for tying off the sock ghost
- Needle and all-purpose thread for the sewn ghost
- A scrap of plain light fabric for the name tag
- A black fabric marker, black embroidery floss, or two small buttons for faces
- About 8 inches of twine for a hanging loop
- Scissors, pins, and a pencil
Optional extras:
- Fabric glue for a fully no-sew pajama ghost
- Embroidery floss in a visible color for big storybook stitches
- Mini clothespins and extra twine, if the flock is destined for a haunted laundry line
Raiding the Outgrown Bin
Only ghost-ify clothes that are genuinely outgrown, and let your kid choose which ones. The answer will surprise you; it is never the fancy outfit, always the one with the hole in the elbow.
Stains, worn spots, and mystery holes are all welcome. Anything still in donating shape can go do good elsewhere; ghosts prefer the clothes that were loved to pieces.
Before You Start
Run everything through the wash so the ghost starts its new life fresh.
Decide the tag together before anyone sews: whose name goes on the ghost, and which year those pajamas ruled the house. That conversation is half the craft.
Parent Setup Notes
For ages 3-5:
- The sock ghost is all theirs: stuffing, face, and introductions. A grown-up ties the neck.
- For a pajama ghost, they art-direct while you sew: shape, face placement, tag spot.
For ages 6-8:
- Sock ghosts solo, including the tying.
- On the sewn ghost, they cut and stitch with help starting and finishing knots.
For ages 9-12:
- The whole project is theirs. Point them at the haunted laundry line and stand back.
The Five-Minute Sock Ghost
Step 1: Stuff the Sock
Push a head-sized lump of stuffing all the way into the toe of the sock. Firm is better; ghosts hold their heads high.
Step 2: Tie the Neck
Tie yarn (or loop a rubber band) snugly under the stuffed head. The rest of the sock hangs loose below as the ghost’s trailing tail, and the heel becomes a funny little bump of character somewhere it shouldn’t be. Correct.
Step 3: Make the Face
Two dots high on the head, close together, with fabric marker or stitched floss. Closeness is what makes a ghost look sweet instead of spooky. Add a small round mouth if it has things to say.
Tie a twine loop to the neck if this one’s a hanger. Done. Five minutes, one haunting.
The Pajama Ghost
Step 1: Draw Your Ghost
On paper, draw a simple ghost about 10 inches tall: a round head, two stubby waving arms, a wavy tail. Think friendly blob, not scary specter. Cut it out. This is your pattern, and wonky is welcome.
Step 2: Cut Two Ghosts
Lay the shirt flat and pin the pattern through both layers, front and back, placing it so the best part of the print lands on the ghost’s chest. Cut around it: two matching ghost shapes in one cut, and the ghost is already wearing the rocket.
Step 3: Give It a Name Tag
Cut a small rectangle, about 3 x 2 inches, from the light scrap and write or stitch a name and a year on it: the kid whose clothes these were, and the year they wore them.
Pin the tag to the front ghost’s chest and sew around its edge with big, visible running stitches, like the ghost was mended by someone who loved it.
Step 4: Make the Face
Marker, stitches, or two small buttons, high and close together. No mouth needed; Pajama Ghosts are the quiet type. They’ve heard every bedtime story already.
Step 5: Sew the Ghosts Together
Pin the two shapes wrong sides together so the raw edges stay on the outside; T-shirt and pajama fabric curls softly at a cut edge instead of fraying, which gives the ghost a gentle, rumpled outline. That’s the look.
Fold the twine in half and pin the ends between the layers at the top of the head, loop sticking up. Sew all the way around, about a half inch from the edge, with a running stitch, leaving a 3-inch gap along one side.
Step 6: Stuff and Close
Push stuffing through the gap: firm in the head, softer in the arms and tail. A pencil helps reach the corners. Then stitch the gap closed.
Step 7: Hang the Haunt
Doorknob, peg rail, coat hook, bedpost. The pajamas are back on duty.
If Kids Get Stuck
If the knit fabric stretches while sewing, add more pins and keep the stitches loose. Bigger, looser stitches look better on this ghost anyway.
If the sock ghost’s head flops, untie, add more stuffing, and tie tighter. Ghosts respect a firm neck.
If marker bleeds on the knit, test on the hem first, or switch to buttons and stitches for the face.
Helpful Tips
Stripes, dots, and dinosaur prints are not a problem to work around; they are the ghost’s outfit. Place the pattern piece to show off the best bit.
Keep the tag short: a name and a year. It reads like a label in a well-loved coat, which is exactly the energy.
Make It Easier
Stay all-sock. A bowl of sock ghosts in mixed stripes is a full Halloween decoration and never touches a needle.
For a no-sew pajama ghost, fabric glue handles the tag and the seam; leave the same gap for stuffing and glue it shut at the end.
Make It More Detailed
Make one ghost per growth spurt and hang them smallest to biggest: a growth chart made of ghosts, each tagged with its year.
Grandparent edition: cut one from a retired flannel shirt or a truly worn-out quilt and gift it back to its original owner. Same craft, three-generation haunting.
Gift or Display Ideas
The finished ghosts can be:
- Hung on a doorknob, peg rail, or bedpost for October
- Pinned along a twine “haunted laundry line” with mini clothespins
- Sent to grandparents wearing an outfit they’ll recognize
- Moved to the Christmas tree in December, because this ghost does not leave in November
Safety Notes
Count pins and needles out at the start and back in at the end.
Button eyes are a choking risk in homes with children under 3. Marker or stitched faces are just as expressive, and the ghost will not mind.
Clean-Up
This is a low-mess craft: thread ends, stuffing fluff, and fabric scraps.
Save the leftover shirt pieces. Scraps make mini ghosts, and mini ghosts have a way of becoming necessary.
Finished Craft
When finished, your family will have a soft ghost dressed in clothes with a history: the lucky socks, the dinosaur pajamas, the rocket shirt, all back on the job with a name tag that says exactly who they belonged to and when.
Fair warning: it hangs around all year. Ghosts of Pajamas Past consider themselves family. They’re right.
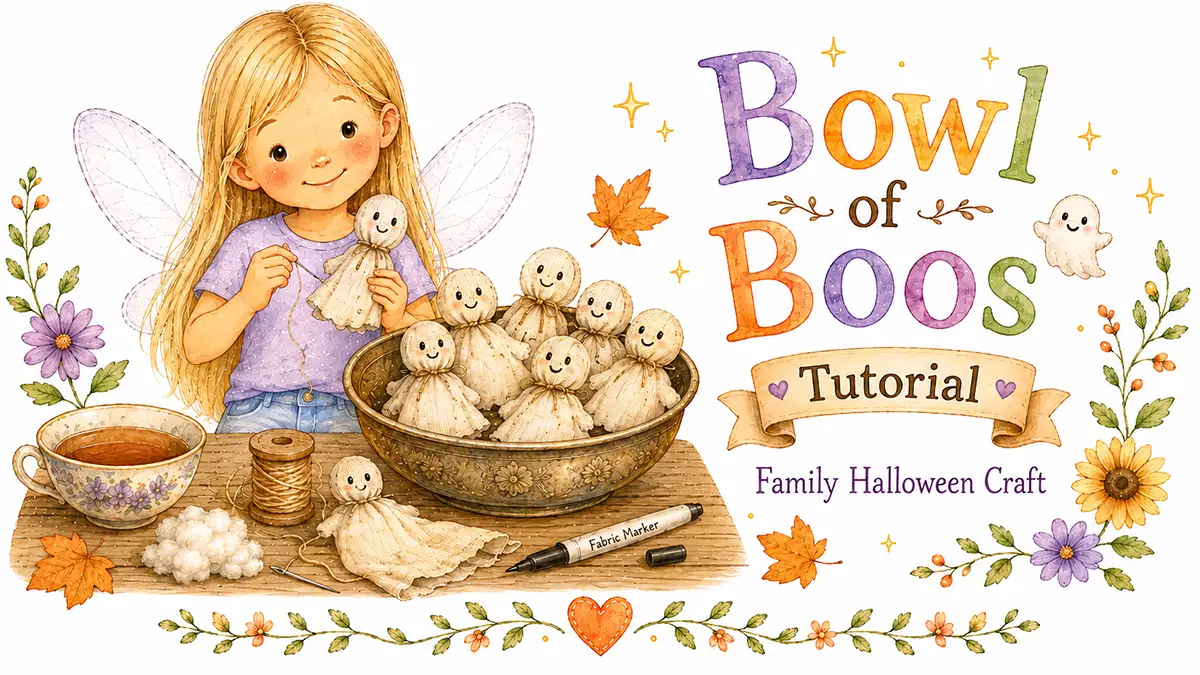
The little sibling of this craft is the Bowl of Boos, a flock of palm-sized tea-dyed ghosts that lives in a wooden bowl and grows by one ghost a year.
Get the free Fairy Marketplace Craft Book
14 beautiful one-page craft tutorials, from nature weaving to cardboard box towns. Plus our favorite new craft ideas and free printables a few times a season.
No spam, ever. Unsubscribe any time.
Check your inbox! Your craft book is on the way. (Give it a few minutes, and peek in the spam folder just in case.)